How to Transfer Your eSIM to a New iPhone
Getting a new iPhone? You’ll need to transfer your eSIM to keep your phone number and service working. It sounds simple, but it can be confusing if you’ve never done it before.
This guide will show you exactly how to transfer your eSIM to your new iPhone. If you’re not sure what an eSIM is, we’ll explain that too, so you can switch phones without any headache.
Before You Begin: The Checklist That Prevents 90% of Transfer Issues
Preparation is everything. Take a few minutes to check these things first, and they will save you from the most common transfer problems. Below, we show you some points that you should keep in mind:
-
Both your old and new iPhones must support eSIM. This includes iPhone XS, iPhone XR, and all later models. Both devices must be running iOS 16 or newer for the easiest transfer method (Quick Transfer). Be aware of regional models. iPhones sold in mainland China, Hong Kong, and Macao often use two physical SIM card slots and do not support eSIM.
-
Not all carriers support eSIM transfer between phones. This is the most common hurdle. Before you start, visit your carrier’s website or call their support line to confirm they allow it. Some budget carriers or older plans might require you to get a new QR code.
-
Both iPhones are on a compatible version (iOS 16+). An old iPhone running iOS 15 cannot use Quick Transfer to an iPhone running iOS 17. Ensure both are updated before you begin.
Must-do steps before your old iPhone goes offline: First, back up your old iPhone to iCloud or your computer, and second, have your Apple ID password ready; you will need it. It is crucial that you do not erase your old iPhone until you have confirmed your cellular service is working on the new one.
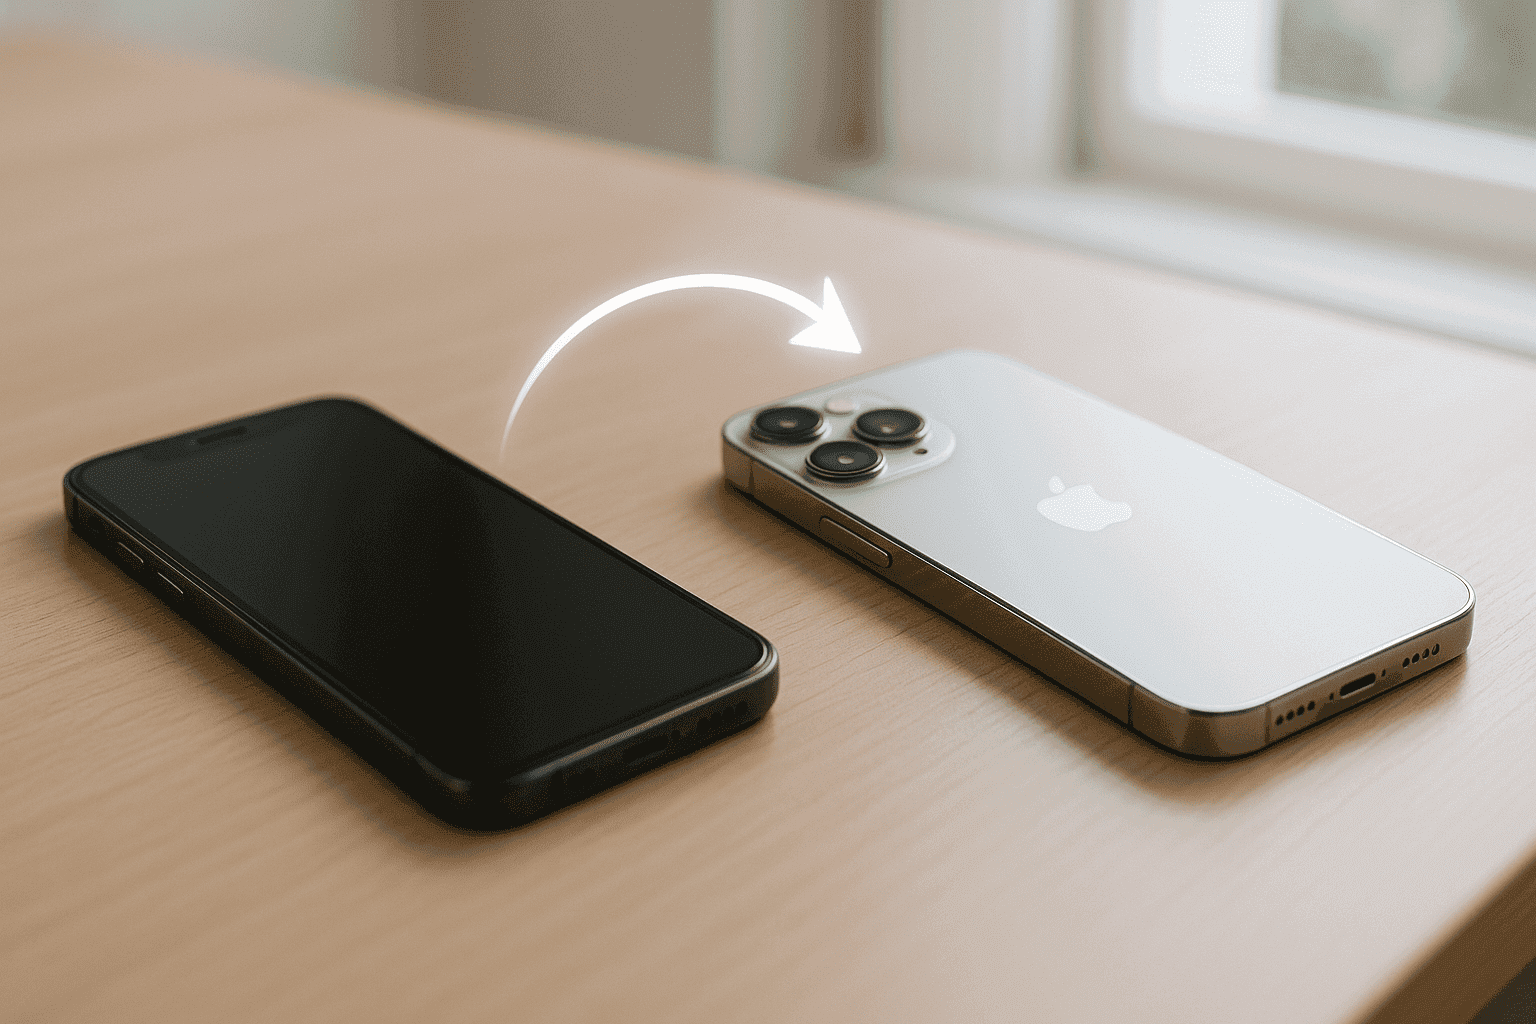
The 3 Ways to Transfer Your eSIM to a New iPhone
There are three main paths to move your eSIM to a New iPhone. Your success will depend on your carrier and your specific situation.
| Method | Ease of Use | Success Rate | Best For… |
|---|---|---|---|
| Quick Transfer (During Setup) | ★★★★★ (Excellent) | ★★★★☆ (High) | Everyone with a supportive carrier and updated iPhones. |
| Manual Transfer (After Setup) | ★★★★☆ (Good) | ★★★☆☆ (Moderate) | When Quick Transfer fails or if you need a QR code. |
| Carrier App Activation | ★★★★☆ (Good) | ★★★☆☆ (Moderate) | A last resort when all other methods have failed. |
Quick Transfer During Setup
This is Apple’s preferred method. When you’re setting up your new iPhone, a prompt will appear asking if you want to transfer your phone number from your old device. This process uses Bluetooth and your Apple ID to securely move the eSIM profile from your old iPhone to the new one. It’s designed to be seamless. However, it can fail if your Bluetooth connection is weak, if both phones aren’t on the same Wi-Fi network, or if there’s a sync issue with your Apple ID.
Manual Transfer After Setup
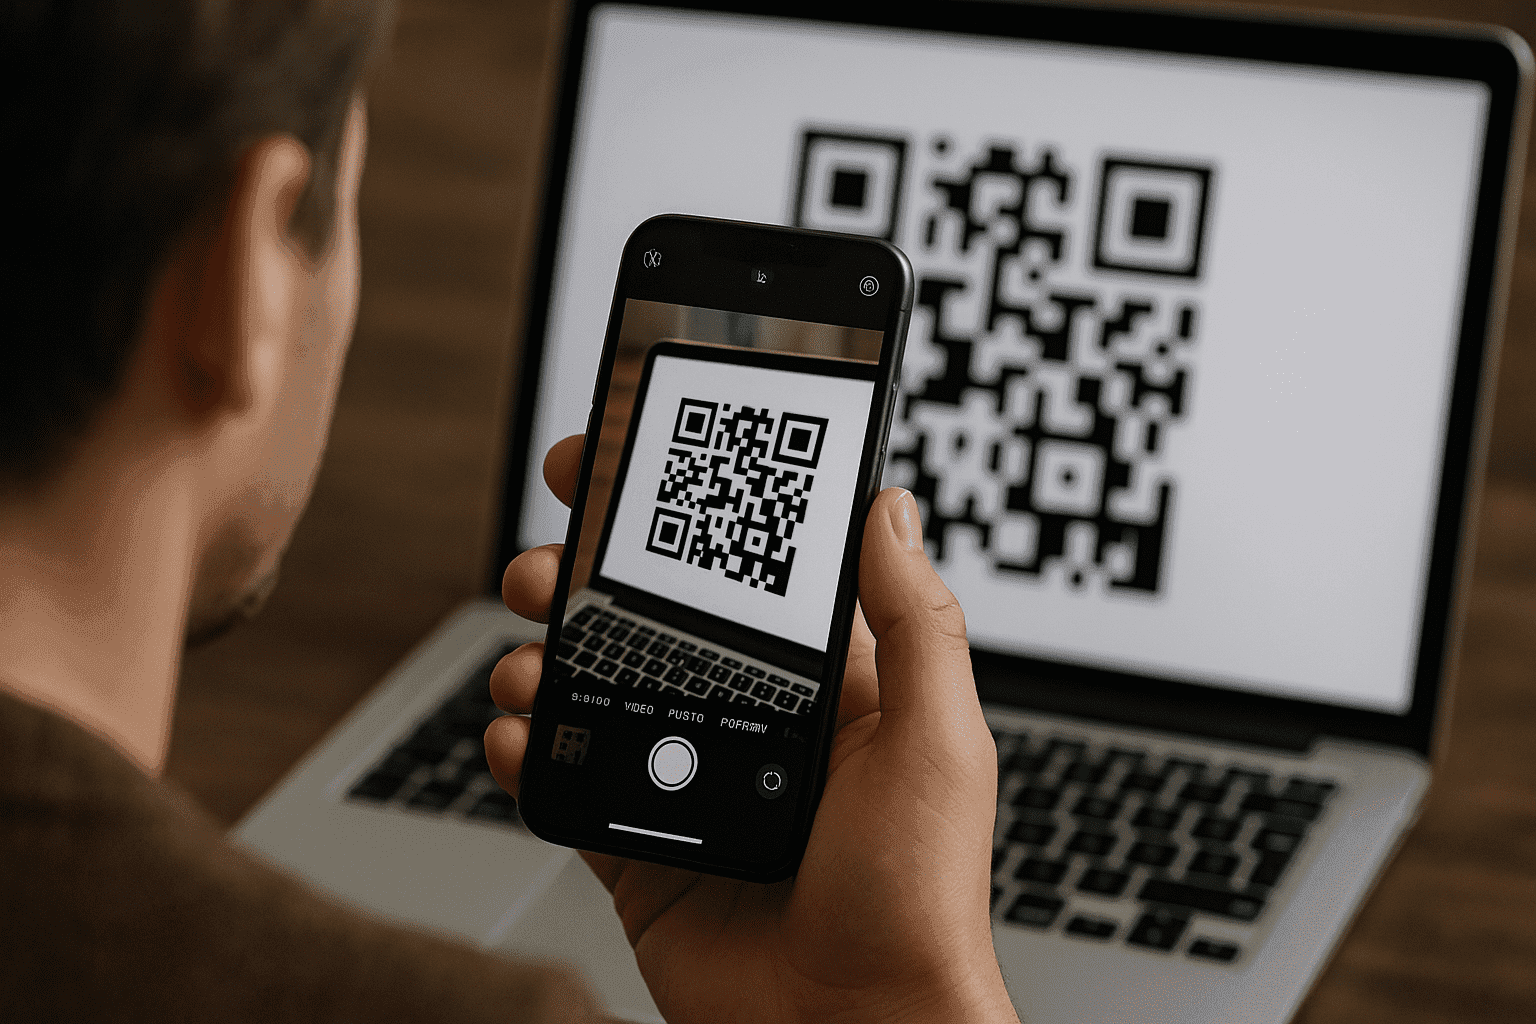
If you skipped the prompt during setup or it failed, this is your next best option. On your new iPhone, go to Settings > Cellular > Add eSIM (or Add Cellular Plan). Tap on “Transfer From Nearby iPhone.” Your new phone will then instruct you on what to do on your old device to approve the transfer. If the “Transfer From Nearby iPhone” option doesn’t work, your carrier likely requires a new QR code.
You can usually get this from your carrier’s website (in your account portal), an email they send you after you request it online, or by visiting a physical store. To use it, go to Settings > Cellular > Add eSIM and select “Use QR Code.” After the transfer is complete, wait about 5-10 minutes before you confirm the network switch on your old device. Give the carrier’s system time to fully process the change.
Carrier App Activation
Some carriers push you to use their official mobile app to activate your eSIM on a new device. The main pro is that it can sometimes bypass system glitches, as you’re working directly within the carrier’s ecosystem. Major US carriers like AT&T, Verizon, and T-Mobile have this functionality. However, many smaller carriers (MVNOs) claim to support it, but their apps often just redirect you to their website or a support chat.
Carrier-Specific Instructions + Unfiltered Tips
Every carrier has its own quirks. Here are some of these specifications per vendor, based on what real users report.
Verizon and Visible
Let’s start with how to avoid getting stuck in the “Pending Activation” loop. This is a common Verizon issue. If your activation is stuck, don’t just keep restarting. Instead, try logging into your My Verizon account on a computer and looking for a device activation or transfer page. Manually triggering it from there often solves the problem.
This Verizon page about “Activate a New iPhone” is overlooked by most users. This site often helps you when the standard methods fail. However, if the online portal doesn’t work after 30 minutes, it’s time to call support. Don’t waste hours resetting your phone.
AT&T, T-Mobile, Mint, and others
AT&T, for example, can be picky about QR codes. Often, you need a brand new one for a new device; an old one won’t work. T-Mobile, for its part, generally has one of the smoothest eSIM transfer processes. Quick Transfer usually works without issue. And in the case of Mint Mobile, their app is the recommended way. It works reasonably well, but make sure you follow their instructions exactly.
For almost any carrier, forums like Reddit (e.g., r/NoContract, r/ATT) are filled with advice. Users often share direct links or step-by-step guides that official support doesn’t provide. On the other hand, for most smaller carriers (MVNOs), getting a fresh QR code from their website or support is more reliable than using their app.
How to Confirm Everything Works After the Transfer
You got the “Activation Complete” message. Great! But you’re not done yet. How to test your new eSIM instantly? It’s simple:
- Turn off Wi-Fi.
- Try to browse a website using cellular data (e.g.,
Google.com). - Make a phone call to a friend.
- Send a text message (SMS, the green bubble) to someone.
Additionally, you can check these iOS settings to double-check post-activation:
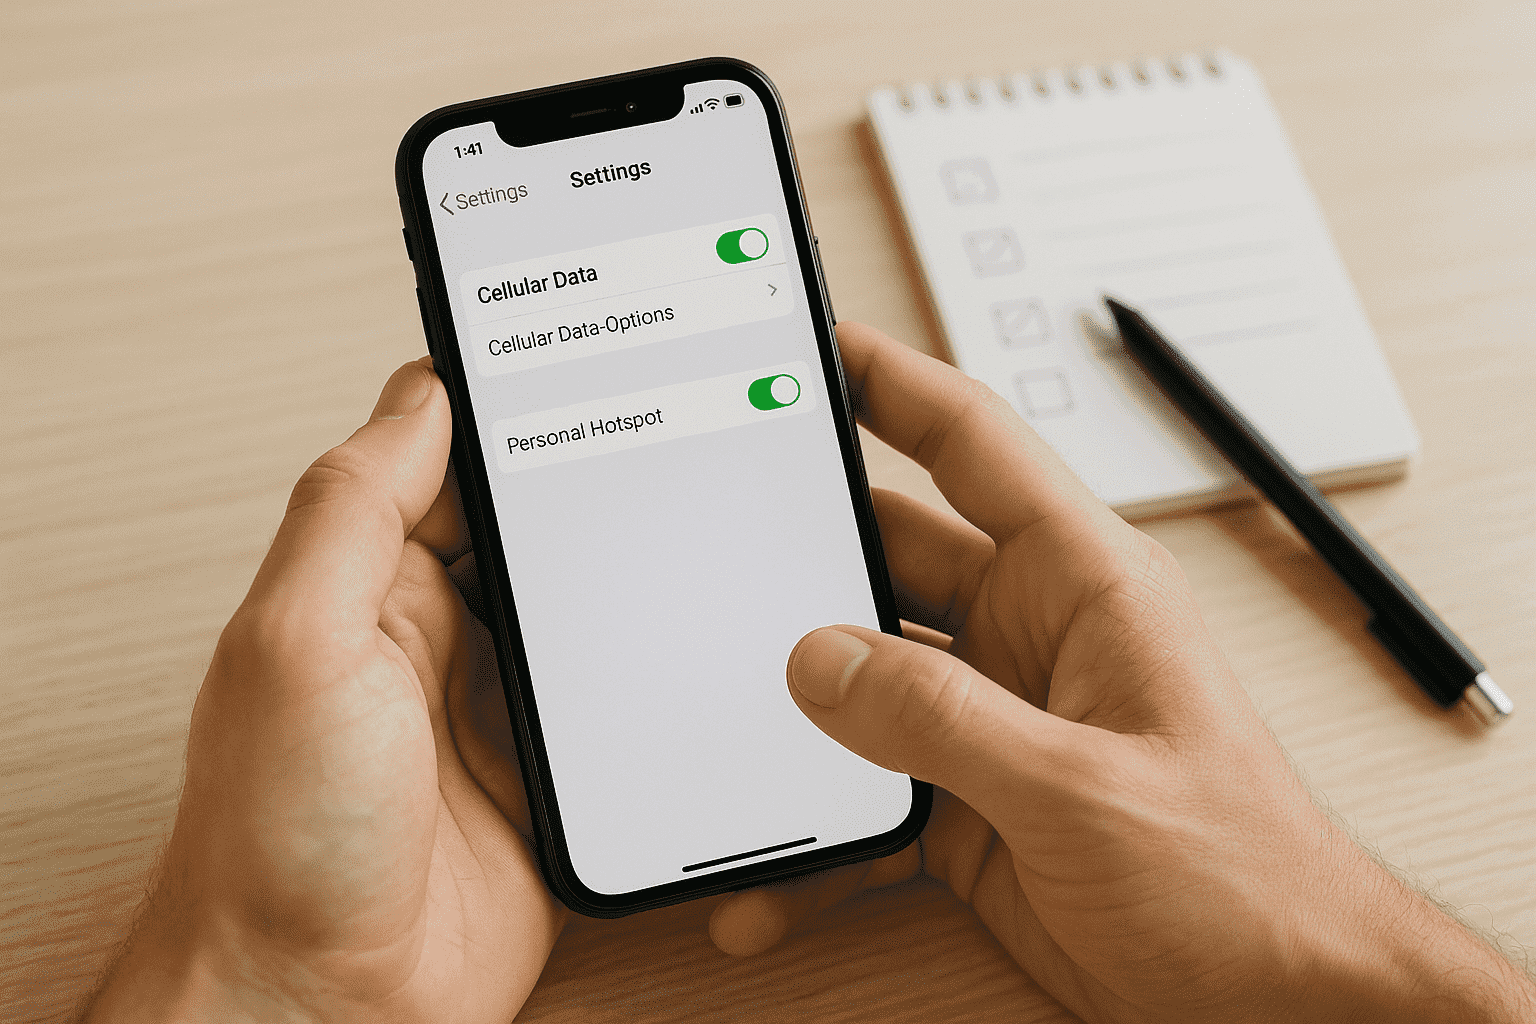
- Go to Settings > Cellular. Make sure your plan is turned on and that you have selected it for Cellular Data and as your Default Voice Line.
- Go to Settings > Messages > Send & Receive. Ensure your phone number has a checkmark next to it. Do the same in Settings >
What to Do When eSIM Transfer Fails: A Troubleshooting Guide
If your eSIM activation gets stuck, don’t panic. Here’s a clear action plan, starting with what not to do:
- Do NOT immediately erase your old iPhone. You might lose access to your number completely.
- Do NOT repeatedly try the same failed method. It’s likely a system issue, not a user error.
Now let’s try these 5 smart fixes you can apply if your eSIM transfer fails:
-
Toggle Airplane Mode: Turn it on for 30 seconds on your new iPhone, then turn it off. This forces the phone to search for a new network signal.
-
Reset Network Settings: On your new iPhone, go to Settings > General > Transfer or Reset iPhone > Reset > Reset Network Settings. You’ll have to re-enter your Wi-Fi passwords, but this can clear hidden conflicts.
-
Check for a Carrier Settings Update: Go to Settings > General > About. If an update is available, a pop-up will appear.
-
Temporarily Disable VPN: If you use a VPN, turn it off during the activation process. It can interfere with the connection to your carrier.
-
Remove the Old eSIM (Last Resort): Only do this if you have a new QR code from your carrier and have confirmed the old plan is deactivated. Go to Settings > Cellular on your old phone, tap the plan, and select “Remove eSIM.”
In case you have to go directly to your operator, be prepared beforehand. Tell them exactly what you’ve tried: “I have already tried Quick Transfer, resetting network settings, and toggling airplane mode.” Also, take a screenshot of any error messages and ask for a “Tier 2” or “technical support” agent. The first person you speak to often follows a basic script. You can say, "I need someone who can manually provision my eSIM on your end."This way, you can ensure that your direct contact with your operator is successful.
FAQs
Why won’t eSIM work even on compatible iPhones?
It’s not a software limitation; it’s hardware. To comply with local regulations, iPhones manufactured for regions like China, Hong Kong, and Macao are built with two physical SIM trays instead of one physical SIM and one eSIM.
eSIM-only: What does it mean when traveling abroad?
Since the iPhone 14, all models sold in the United States are eSIM-only. This means there is no physical SIM tray. When traveling, you can’t just buy a local SIM card at the airport and pop it in.
Can you use local data plans or eSIM marketplaces safely?
Absolutely! This is where eSIMs truly shine. You can buy a data plan from an eSIM marketplace before you even leave home. You simply scan a QR code, and your travel data plan is ready to use the moment you land, often at a much lower cost than your home carrier’s roaming fees.
You can try Yoho Mobile’s free eSIM trial and get connected instantly. If you want to get your eSIM plan afterward, use the code YOHO12 at checkout for a 12% discount!