How to Transfer eSIM to New iPhone: Complete Step-by-Step Guide
So you’ve just unboxed your shiny new iPhone—the excitement is real. But then reality hits: your mobile service is trapped on your old device, and you need that eSIM (embedded SIM) transferred ASAP. Maybe you have an important call in an hour, or you’re traveling tomorrow and can’t afford to lose connectivity.
Here’s the good news: Apple has streamlined eSIM transfers significantly since iOS 16, and in most cases, you can move your digital SIM to your new iPhone in under 10 minutes. This guide walks you through every scenario—whether you’re setting up a brand new iPhone or have already completed the initial setup and just need to migrate your cellular service now.
What Is eSIM Transfer and How Does It Work?
eSIM transfer is Apple’s built-in feature that moves your cellular plan from one iPhone to another wirelessly, without needing a physical SIM card or QR code from your carrier. It works by securely transmitting your eSIM profile data via Bluetooth and Wi-Fi between devices running iOS 16 or later, typically completing in 2-5 minutes.
When Apple introduced eSIM technology starting with the iPhone XS, XR, and later models, the initial setup process relied heavily on carrier-provided QR codes. You’d visit a store or log into your carrier’s website, scan a code, and manually enter activation details. It worked, but it wasn’t exactly seamless.
With iOS 16, Apple introduced eSIM Quick Transfer—a game-changer for iPhone users. This feature allows you to migrate your cellular service directly between iPhones during the device setup process or afterward. The system uses a combination of Bluetooth Low Energy for device discovery and your Wi-Fi connection for secure profile transmission.
It’s important to understand what “transfer” actually means in this context. Unlike copying a file where both source and destination hold identical data, an eSIM transfer is more like a move operation. Your cellular profile is deactivated on the old iPhone and activated on the new one. Your phone number, plan details, and carrier settings all migrate together as a single unit.
This matters because you cannot use the same eSIM on two devices simultaneously. Once the transfer completes, your old iPhone loses cellular connectivity through that eSIM. If you’re planning to keep your old device as a backup, you’ll need separate service for it—either another eSIM plan or a physical SIM if the device supports dual SIM.
What Should You Check Before Transferring Your eSIM?
Before starting the transfer, verify both iPhones support eSIM (iPhone XS/XR or newer), both run iOS 16 or later, both connect to stable Wi-Fi, Bluetooth is enabled on both, and your old iPhone has an active eSIM plan. Also ensure both devices have at least 50% battery or are plugged in.
Which iPhone Models Support eSIM Transfer?
Not every iPhone supports eSIM technology. According to Apple’s official documentation, here’s the complete list of compatible models:
iPhone Model eSIM Support Quick Transfer Available iPhone XS, XS Max, XR Yes Yes (iOS 16+) iPhone 11 series Yes Yes (iOS 16+) iPhone 12 series Yes Yes (iOS 16+) iPhone 13 series Yes Yes (iOS 16+) iPhone 14 series Yes (US models: eSIM only) Yes iPhone 15 series Yes (US models: eSIM only) Yes iPhone 16 series Yes (US models: eSIM only) Yes
U.S. models of iPhone 14, 15, and 16 have no physical SIM card slot—they rely entirely on eSIM technology. This makes understanding the transfer process even more critical for American users.
How Do You Verify Your Carrier Supports eSIM Quick Transfer?
While most major carriers worldwide support eSIM Quick Transfer, some smaller carriers or prepaid services may not. According to GSMA, the global standards body for mobile communications, eSIM adoption varies by region and carrier size. Contact your carrier if you’re uncertain, especially if you use:
-
Regional or local carriers
-
Prepaid or pay-as-you-go plans
-
Business or enterprise accounts with custom provisioning
If you’re traveling internationally and need immediate connectivity, consider getting a travel eSIM as a backup solution while you sort out your primary carrier transfer.
Why Should You Backup Your Old iPhone First?
Though the eSIM transfer process is reliable, technology isn’t perfect. Create an iCloud or iTunes backup of your old iPhone before starting. This ensures that if anything goes wrong—like the transfer failing mid-process—you can restore your settings and data without losing anything important.
How Do You Transfer eSIM During iPhone Setup?
During iPhone Quick Start setup, when you reach the “Set Up Cellular” screen, select “Transfer from Nearby iPhone” and follow the prompts. Your old iPhone will display an animation that you scan with your new iPhone’s camera to authorize the secure transfer of your eSIM profile.
This is the most common scenario—you’ve just turned on your new iPhone for the first time and are walking through Apple’s setup wizard. The Quick Start feature detects your old iPhone nearby and guides you through migration of your Apple ID, settings, apps, and cellular service.
What Are the Step-by-Step Instructions for Setup Transfer?
-
Turn on your new iPhone and place it near your current iPhone. The Quick Start screen should appear on your old device automatically, prompting you to set up the new phone.
-
Scan the animation displayed on your old iPhone using your new iPhone’s camera. This pairs the two devices securely.
-
Enter your passcode on the new iPhone when prompted, then continue through Face ID or Touch ID setup.
-
Choose your transfer method: Transfer directly from iPhone (recommended) or restore from iCloud backup.
-
When you reach “Set Up Cellular,” tap “Transfer from Nearby iPhone.”
-
On your old iPhone, tap “Transfer” when the cellular plan transfer prompt appears.
-
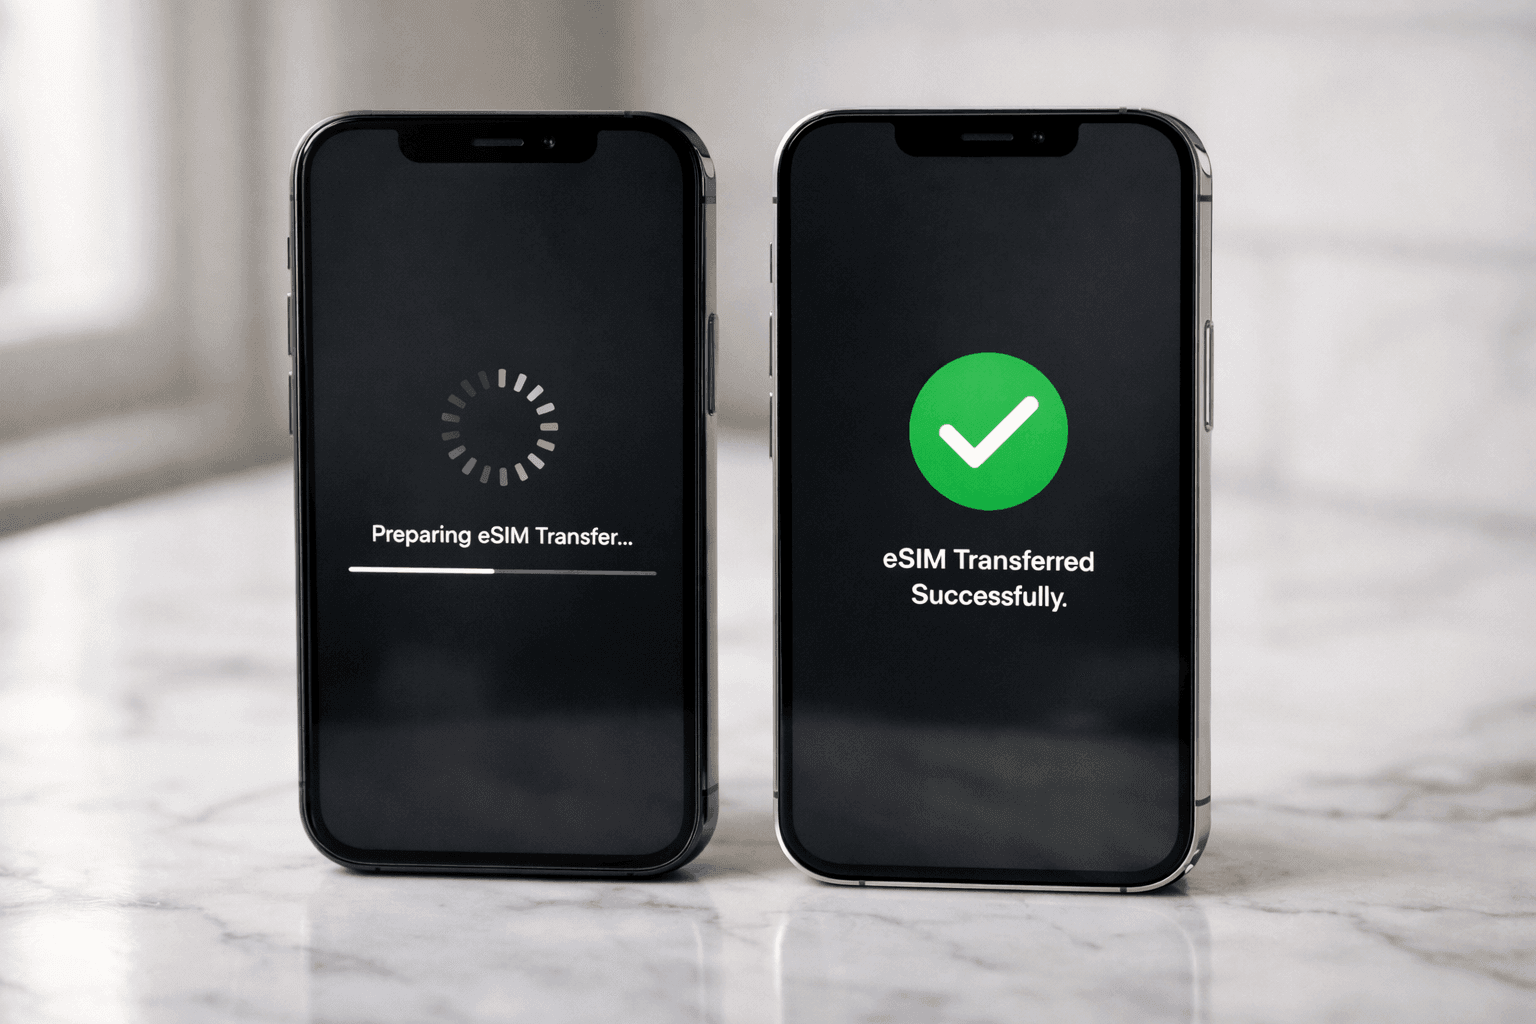
Wait for the transfer to complete. This typically takes 1-3 minutes. Your new iPhone will display a progress bar.
-
Tap “Continue” on your new iPhone once the transfer finishes.
During this process, your old iPhone may temporarily lose cellular service. This is normal—the eSIM is being moved, not copied. Once the transfer completes and your new iPhone shows signal bars, the migration is successful.
What Should You Do If Quick Start Doesn’t Appear?
Sometimes the automatic Quick Start prompt doesn’t show up. If this happens:
-
Ensure Bluetooth is enabled on both devices
-
Check that both iPhones are connected to Wi-Fi
-
Restart both devices and try again
-
On your new iPhone, manually start setup and select “Transfer from iPhone” at the appropriate screen
How Do You Transfer eSIM After Setup Is Complete?
If you’ve already completed iPhone setup without transferring your eSIM, go to Settings > Cellular > Add eSIM on your new iPhone. Select “Transfer from Another iPhone,” confirm on your old device, and the eSIM will migrate wirelessly. The process takes 2-5 minutes.
Maybe you skipped the cellular setup during initial configuration, or perhaps you bought your new iPhone weeks ago and are just now getting around to moving your service. Whatever the reason, transferring an eSIM after setup is straightforward.
What Are the Manual Transfer Steps?
-
On your new iPhone, open Settings > Cellular (or Mobile Data).
-
Tap “Add eSIM” or “Set Up Cellular” depending on your iOS version.
-
Select “Transfer from Another iPhone” from the available options.
-
A prompt appears on your old iPhone asking you to confirm the transfer. Tap “Transfer” to proceed.
-
Wait for the “Activating” progress to complete. You’ll see a loading indicator on both devices.
-
Once finished, tap “Done” on your new iPhone.
-
Test your connection by making a call or using mobile data.
If your carrier supports it, you might also see an option to convert a physical SIM to eSIM during this process. This is useful if you’re upgrading from an older iPhone that used a physical nano-SIM card.
How Do You Use a QR Code for eSIM Activation?
Some carriers don’t support Quick Transfer, or you may encounter technical issues. In these cases, contact your carrier to request an eSIM QR code. Then:
-
Open Settings > Cellular > Add eSIM on your new iPhone
-
Select “Use QR Code”
-
Scan the code provided by your carrier
-
Follow any additional activation prompts
This method works even if your old iPhone is broken, lost, or already traded in—making it a reliable fallback option.
What Are the Alternative Methods for eSIM Activation?
Beyond Quick Transfer, you can activate an eSIM using carrier-provided QR codes, manual activation codes entered in Settings, carrier mobile apps with eSIM provisioning, or by purchasing a travel eSIM for immediate connectivity while arranging primary carrier transfer.
While Apple’s Quick Transfer is the most convenient method, it’s not the only path to getting your new iPhone connected. Understanding your alternatives ensures you’re never stranded without service.
Which Carriers Support App-Based eSIM Activation?
Many carriers now offer eSIM activation through their official mobile apps. This method is particularly popular with:
-
T-Mobile (USA) - uses the T-Mobile app for eSIM setup
-
EE (UK) - offers in-app eSIM provisioning
-
Airtel and Jio (India) - support app-based eSIM activation
The process typically involves logging into your carrier app, selecting “Add eSIM” or “Switch to eSIM,” and following the on-screen instructions. Some carriers send a confirmation SMS to verify the request before activating your digital SIM.
Can a Travel eSIM Work as a Bridge Solution?
If you’re traveling soon and can’t wait for your primary carrier transfer to complete—or if you’re switching carriers entirely—a travel eSIM offers an excellent temporary solution. Yoho Mobile provides instant activation in over 200 countries, letting you stay connected while you sort out your permanent service.
This approach is particularly valuable for:
-
International travelers who need immediate data upon arrival
-
Users switching carriers and facing activation delays
-
Anyone whose primary carrier has limited eSIM support
If you’re new to eSIM, you can try Yoho Mobile’s free eSIM to see how it works before your trip.
How Does Dual SIM Configuration Work on iPhone?
Most modern iPhones support Dual SIM functionality—one physical nano-SIM plus one eSIM, or two eSIMs simultaneously (on iPhone 13 and later). This means you can:
-
Keep your primary carrier on the physical SIM while using a travel eSIM for data abroad
-
Run two phone numbers (personal and business) on one device
-
Compare coverage by having active plans from two different carriers
Learn more about eSIM vs physical SIM differences to decide which combination works best for your needs.
How Do You Troubleshoot Common eSIM Transfer Issues?
Common eSIM transfer issues include both devices not detecting each other, transfer getting stuck on “Activating,” old iPhone not showing the transfer prompt, and “No Service” after transfer completes. Most resolve by restarting both devices, verifying iOS 16+ compatibility, ensuring stable Wi-Fi, or contacting your carrier for manual activation.
Why Is the “Transfer from Nearby iPhone” Option Missing?
If you don’t see the Quick Transfer option:
-
Check iOS version: Both iPhones need iOS 16 or later. Go to Settings > General > About to verify.
-
Enable Bluetooth and Wi-Fi: Both must be active on both devices.
-
Unlock both devices: Your old iPhone must be unlocked to show the transfer prompt.
-
Distance matters: Keep the iPhones within a few inches of each other.
What Should You Do If the Transfer Gets Stuck on “Activating”?
If your transfer hangs on the activation screen for more than 5 minutes:
-
Don’t panic—don’t force restart yet
-
Check if your carrier is experiencing outages
-
Verify your old iPhone still shows the transfer in progress
-
If stuck beyond 10 minutes, cancel and restart both devices
For persistent activation problems, read our detailed guide on fixing eSIM stuck on activating.
How Do You Fix “No Service” After a Successful Transfer?
If your new iPhone shows no signal after a seemingly successful transfer:
-
Toggle Airplane Mode on and off
-
Go to Settings > General > Transfer or Reset iPhone > Reset > Reset Network Settings (note: this erases saved Wi-Fi passwords)
-
Check if your carrier requires additional activation steps
-
Verify your account is in good standing with your carrier
What If Your eSIM Is Still Active on the Old iPhone?
In rare cases, both devices may show active service on the same number. This shouldn’t happen—it’s a carrier-side glitch. Contact your carrier immediately to resolve the duplicate activation. Using the same number on two devices simultaneously can cause:
-
Missed calls and texts
-
Billing confusion
-
Potential security issues
When Should You Contact Your Carrier?
If you’ve tried the troubleshooting steps above and still can’t transfer your eSIM, it’s time to contact your carrier’s technical support. Have the following ready:
-
Your account information and phone number
-
The EID number of your new iPhone (Settings > General > About > EID)
-
Description of the error or issue you’re experiencing
Your carrier can remotely deactivate the old eSIM and provide a fresh activation code for your new device.
What Should You Do After Successfully Transferring Your eSIM?
After a successful eSIM transfer, verify cellular service works by making a test call and checking mobile data connectivity. Update your iPhone to the latest iOS version, reconfigure any carrier-specific features like Wi-Fi calling or visual voicemail, and if selling your old iPhone, erase all content and settings to remove the deactivated eSIM profile.
How Do You Verify Everything Works?
Don’t assume the transfer worked just because your new iPhone shows signal bars. Perform these checks:
-
Make a test call: Call a friend or family member to confirm voice service
-
Send a text message: Verify SMS functionality
-
Test mobile data: Turn off Wi-Fi and browse a website or use an app
-
Check visual voicemail: Open the Phone app and tap Voicemail to ensure it loads
-
Test hotspot: Try enabling Personal Hotspot under Settings if you use this feature
Learn how to properly set up and use hotspot on iPhone for sharing your connection with other devices.
Which Carrier Features Need Reconfiguration?
Some carrier-specific settings don’t transfer automatically. You may need to re-enable:
-
Wi-Fi Calling (Settings > Phone > Wi-Fi Calling)
-
Call Forwarding
-
Carrier-specific security features
-
International roaming settings
If you’re planning to travel internationally, review our guide on whether to keep data roaming on or off to avoid unexpected charges.
How Do You Prepare Your Old iPhone for Sale or Trade-In?
Once you’ve confirmed everything works on your new device:
-
Sign out of iCloud (Settings > [Your Name] > Sign Out)
-
Sign out of the App Store
-
Erase all content and settings (Settings > General > Transfer or Reset iPhone > Erase All Content and Settings)
Erasing your old iPhone removes the deactivated eSIM profile and prepares the device for sale, trade-in, or gifting to a family member. Don’t skip this step—it’s essential for both privacy and proper device handoff.
Frequently Asked Questions About eSIM Transfer
Can I use my eSIM on two iPhones at the same time?
No, an eSIM can only be active on one device at a time. When you transfer your eSIM to a new iPhone, it automatically deactivates on your old device. Your carrier may allow you to download the same eSIM profile on multiple devices, but only one can be active for calls and data at any given time.
What if my eSIM transfer fails or gets stuck?
If your eSIM transfer fails, first restart both devices and ensure they’re on the same Wi-Fi network with Bluetooth enabled. Check that both iPhones run iOS 16 or later. If problems persist, contact your carrier—they can provide a QR code or activation code to manually set up your eSIM on the new device.
Do I need to delete the eSIM from my old iPhone first?
No, you don’t need to manually delete the eSIM from your old iPhone before transferring. The transfer process automatically moves the eSIM profile to your new device and deactivates it on the old one. However, if you’re selling your old iPhone, you should erase all content and settings after confirming the eSIM works on your new device.
Can I transfer an eSIM from Android to iPhone?
You cannot directly transfer an eSIM from Android to iPhone using the automatic transfer method. Instead, you’ll need to contact your carrier to request an eSIM QR code or activation details for your iPhone. Alternatively, you can use a travel eSIM provider like Yoho Mobile to get instant connectivity on your new iPhone while sorting out your primary carrier.
Will transferring my eSIM affect my phone number?
No, transferring your eSIM to a new iPhone does not change your phone number. Your number is tied to the eSIM profile and carrier account, not the physical device. Once the transfer is complete, your new iPhone will have the same number, and callers will reach you exactly as before.
How long does an eSIM transfer take?
Most eSIM transfers complete in 2-5 minutes. The actual data transmission is quick, but activation on the carrier side can take additional time. If your transfer takes longer than 10 minutes, there may be a network issue or carrier-side delay—contact your provider if the process seems stuck.
Can I transfer my eSIM if my old iPhone is broken?
If your old iPhone is broken, lost, or no longer powers on, you cannot use Quick Transfer. Instead, contact your carrier and request a replacement eSIM. Most carriers can email you a QR code or provide activation details that let you set up service on your new iPhone without needing the old device.
Will I lose any data during the eSIM transfer?
No, eSIM transfer only moves your cellular service profile—your phone number, plan settings, and carrier configuration. It does not affect your photos, apps, messages, or other personal data. Those items transfer separately through iCloud backup, iTunes backup, or Quick Start device migration.