
What to Pack for Japan: Complete Checklist
Deciding what to pack for Japan can be difficult when your route, weather, and hotel plans vary from day to day. Bringing too much can make train transfers and small hotel rooms harder to manage, while missing essentials can disrupt sightseeing. In this guide, we cover what to pack for Japan, including seasonal clothing, luggage for train travel, and documents, medication, and daily essentials.
Start with your route, laundry, and hotel changes
Your route matters more than a universal Japan packing list. Pack fewer interchangeable clothes if you’ll use hotel laundry, choose a manageable bag if you’re changing cities, and keep one arrival outfit accessible. Every item should suit your expected weather, daily walking, accommodation, or transport.
The first decision isn’t how many shirts to bring. It’s how your trip moves. A traveler staying in one Tokyo hotel can manage a different suitcase from someone taking several trains between Tokyo, Kyoto, Osaka, and a smaller town.
Build around your route and laundry access
Choose repeatable outfits: Neutral tops and bottoms let you create several combinations without filling the case. If your accommodation has laundry facilities, pack enough for one laundry cycle rather than every calendar day.
A useful core list includes:
- Breathable tops that can be worn alone or layered
- Comfortable trousers, skirts, or dresses suited to long walking days
- One warm or protective outer layer chosen for the forecast
- Underwear and socks for the period between laundry stops
- Sleepwear appropriate for shared or compact accommodation
- One tidy outfit for restaurants, performances, or formal plans
Pro tip: Pack complete outfits together before folding them. If a top works with only one pair of trousers, it’s probably taking more space than it earns.
Keep your first night within reach
Protect the arrival essentials: Put a clean shirt, underwear, basic toiletries, medication, and a charging cable near the top of your carry-on. You won’t need to empty the room’s floor space after a tiring arrival.
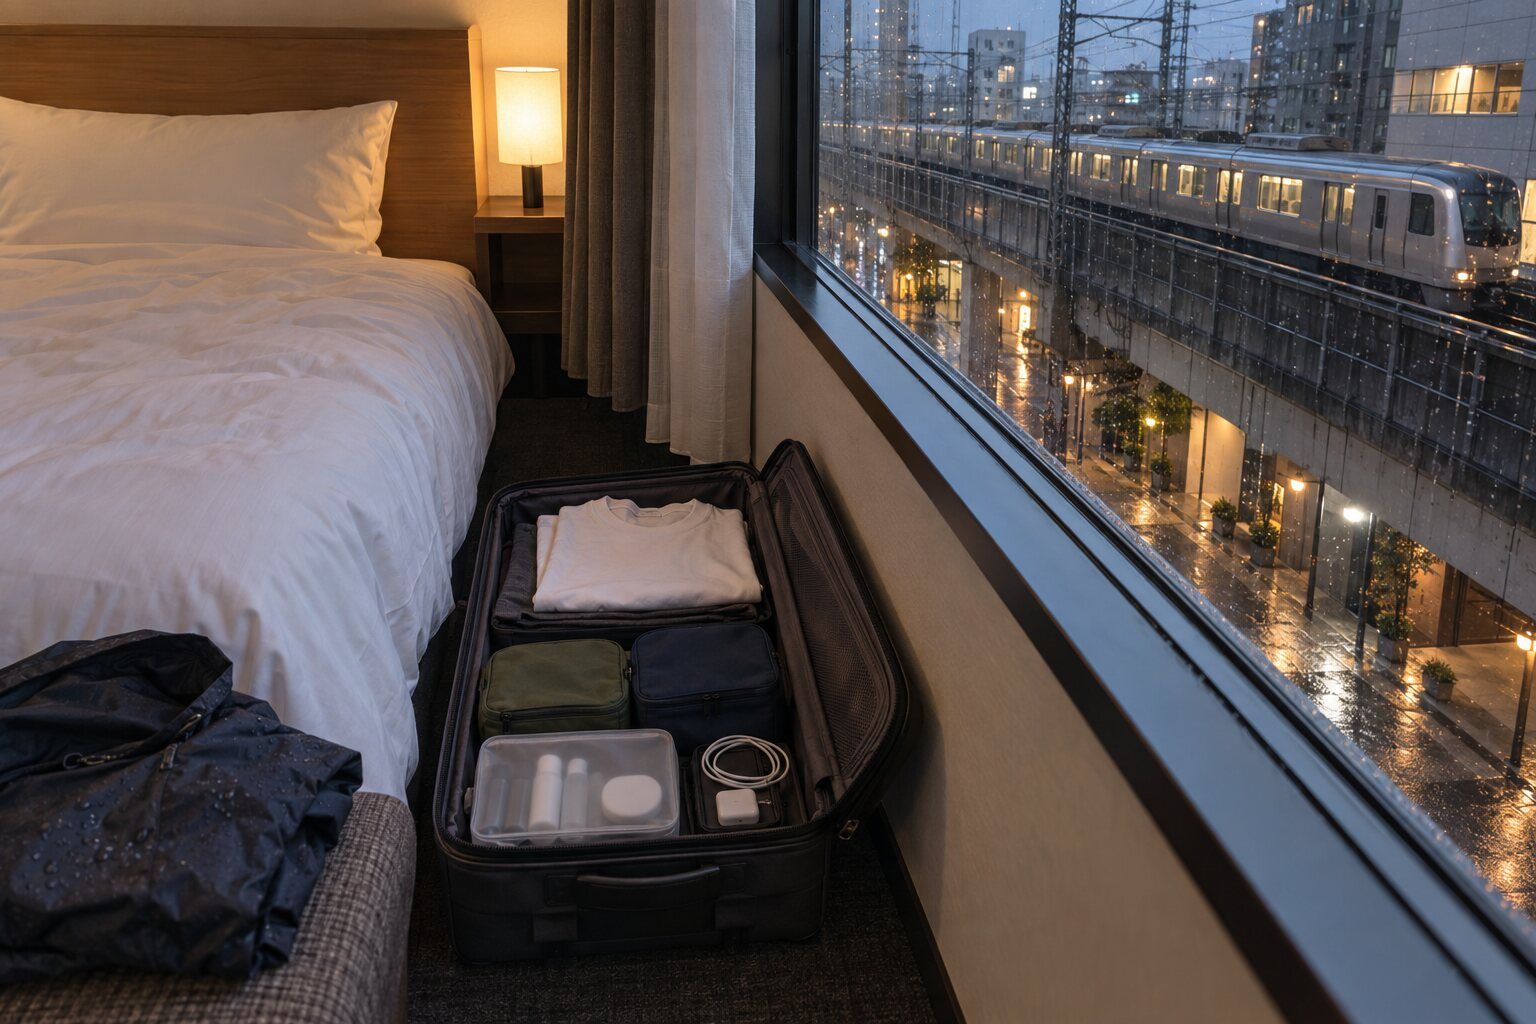
Compact hotel rooms reward disciplined packing. Packing cubes can separate clean clothes, laundry, and accessories, but don’t treat them as permission to bring more. A soft-sided bag can also be easier to open than a rigid case when the space between the bed and wall is narrow.
What should you wear in Japan each season?
Wear layers selected for your destinations rather than treating Japan as one climate. Spring and autumn call for adaptable layers, summer demands breathable clothing and rain protection, and winter needs insulation matched to the region. Check the forecast again shortly before departure because conditions can shift.
Japan stretches across varied climates, so a Tokyo forecast can’t stand in for Hokkaido, mountain areas, or southern islands. The Japan Meteorological Agency climate information for travelers shows why region and season belong at the top of your packing decisions. Its English service is identified as JMA - Meteorological Services of Japan - (11 August 2021).
Layer lightly for spring
Prepare for changing days: Pack a light jacket, breathable base layers, and a compact rain shell. A thin sweater or cardigan is useful when mornings, evenings, and air-conditioned spaces feel cooler than the middle of the day.
Spring visitors often spend long periods outdoors, so prioritize clothes that remain comfortable while walking and waiting. A foldable tote gives you somewhere to place a removed layer without tying it around your waist all afternoon.
Stay cool through humid summer days
Choose quick-drying fabrics: Lightweight shirts, loose trousers, breathable dresses, and a change of socks make humid days more manageable. Include a compact umbrella or light rain jacket rather than relying on a heavy waterproof coat.
Sun protection belongs in the day bag. Pack a hat, sunglasses, and sunscreen that you already know suits your skin. A small hand towel is practical for heat, rain, and public washrooms, and it occupies almost no luggage space.
Balance warm afternoons and cool autumn evenings
Use removable mid-layers: A long-sleeved top under a sweater or light jacket adapts better than one bulky piece. Later autumn trips and higher elevations may need warmer outerwear, so compare each stop rather than averaging the route.
Autumn can involve dry walking days and sudden rain. Water-resistant shoes are useful, but fully waterproof hiking footwear is unnecessary unless your itinerary actually includes trails or sustained outdoor activity.
Match winter insulation to the region
Separate city winter from snow travel: Urban sightseeing may call for a warm coat, gloves, and thermal layers. Snow destinations need footwear with reliable grip, thicker socks, and stronger protection from moisture.
Pro tip: Check the Japan Meteorological Agency before closing the suitcase, then revise the outer layer rather than adding several “just in case” outfits.
| Season | Clothing priority | Useful extra | Common excess |
|---|---|---|---|
| Spring | Light, removable layers | Compact rain shell | Several heavy sweaters |
| Summer | Breathable, quick-drying clothes | Hat and hand towel | Heavy denim and thick jackets |
| Autumn | Long sleeves and a mid-layer | Water-resistant footwear | One bulky coat for every region |
| Winter | Insulation suited to the route | Gloves and grippy shoes | Snow equipment for city-only plans |
Shoes, toiletries, and medication for daily routines
Bring one proven pair of walking shoes, clean socks, compact toiletries, and enough essential medication for the trip. A second pair should serve a distinct purpose, such as wet weather or formal plans. Slip-on convenience matters because some accommodations, restaurants, and cultural spaces require shoe removal.
Wear tested shoes rather than new ones
Protect your walking days: Your main shoes should already be comfortable for stations, stairs, shopping streets, and long sightseeing routes. New shoes that feel fine at home can become painful after repeated full days outside.
Choose footwear that’s easy to remove without sacrificing support. Pack socks without holes and keep an extra pair in your day bag during wet weather. If you bring a second pair, make it lighter and clearly different from the first.
Reduce toiletries to the products you use
Decant familiar products: Keep liquids within the security rules that apply to your departure airport and airline. Containers holding no more than 100 ml are the usual carry-on benchmark, but you should confirm the exact policy before leaving.
Basic toiletries are widely available in Japanese cities, and many hotels provide common bathroom items. Bring specialty skin, hair, dental, or menstrual products when substitution would be uncomfortable. A hanging toiletry bag can keep a small bathroom counter clear.
Check medication before it enters the suitcase
Verify restrictions early: Carry prescription medicine in original labeled packaging and keep supporting documents with it. Rules can differ from those at home, particularly for controlled ingredients, so check the relevant Japanese authority before traveling.
Keep necessary medicine in your carry-on, not in checked baggage. A small personal health pouch can include blister care, pain relief that is permitted for entry, allergy treatment, and any items you rely on regularly.
Pro tip: Photograph prescription labels and store the images offline. The photos don’t replace original packaging or official documents, but they give you a readable backup.
How should you handle luggage on Japanese trains?
Use the smallest bag you can manage independently, check reservation requirements for oversized luggage, and keep station transfers in mind. Some high-speed train services require designated storage arrangements for large bags. Never assume every carriage, local train, or station will offer generous luggage space.
Measure the bag before departure
Check total dimensions: Japanese train policies often classify luggage using the combined length, width, and height. Requirements vary by train and operator, so compare your packed bag with the rules for every service on your route.
If a reservation is required, arrange it alongside the train booking rather than after boarding. A compliant suitcase can still be awkward during a short transfer, especially when lifts are busy or the easiest route involves stairs.
Keep transfer-day essentials separate
Carry a compact personal bag: Your passport, wallet, phone, medication, water, ticket information, and one warm layer should stay with you. Don’t bury anything needed during the journey under a locked suitcase.
A backpack is useful when it remains slim enough for busy stations. Move it to your front or hold it by hand in crowded spaces. This keeps the bag under control and reduces accidental contact with other passengers.
Consider forwarding bulky cases
Separate yourself from the largest bag: Luggage forwarding can make multi-city travel easier when your accommodation and schedule support it. Keep an overnight set with you because the forwarded case may not arrive at the same moment you do.
This option is particularly useful when you have a tight rail connection or plan to stop between hotels. Confirm acceptance, delivery timing, address details, and payment with the service desk before handing over the case.
Pro tip: Save each hotel’s name, address, and phone number in Japanese where available. Clear destination details reduce confusion when completing a forwarding form.
Phones, payments, and power on the move
Prepare mobile access, offline navigation, payment backups, and charging equipment before flying. Your phone should be unlocked, compatible with your chosen service, and able to last through a full sightseeing day. Carry more than one payment method and keep a physical backup of essential reservations.
Arrange mobile data before you board
Use an eSIM when your phone supports it: It lets you prepare mobile data without swapping your physical SIM, though devices not compatible with eSIM need another option. Check the compatible device list and confirm that the phone isn’t carrier-locked.
If your days depend on live maps, translation, booking messages, and train updates, choose the amount and duration around those tasks. Streaming and frequent hotspot use require more mobile data than messaging and ordinary navigation. You can also review how much mobile data Google Maps uses before estimating your needs.
If you want control over the destination, data allowance, and validity period, Yoho Mobile lets you tailor a Japan eSIM plan, manage it through the Yoho Mobile app on iOS or Yoho Mobile app on Android, and start with a free eSIM trial backed by Yoho Care emergency data service.
Save maps and bookings for offline access
Assume the signal may drop: Download offline map areas, take screenshots of key routes, and save accommodation details locally. Keep booking references, arrival instructions, and transport information in a folder you can open without mobile data.
Translation tools are useful for menus, signs, addresses, and short conversations. Download the required language resources before departure and test the camera translation feature while you still have reliable access.
Carry the right charging kit
Pack one compact charging system: Bring the cables your devices actually use, a suitable plug adapter, and a portable power bank permitted by your airline. Label identical cables if several travelers are sharing chargers.
Japan commonly uses flat two-pin outlets. Check whether each appliance supports the local voltage rather than assuming a plug adapter changes voltage. High-power styling tools deserve particular attention.
Split cards and cash between safe places
Keep a payment backup: Cards are convenient, but cash still has practical uses. Carry at least two payment methods and store them separately so a misplaced wallet doesn’t remove every option at once.
Pro tip: Put your phone, cable, power bank, adapter, and earphones into one bright pouch. You’ll notice the pouch quickly when checking a hotel outlet, train tray, or airport seat.
Which documents and health items belong in your day bag?
Your day bag should hold your passport, required entry documents, insurance details, essential medication, payment backup, and accommodation information. Keep digital and offline copies of important records. The bag should remain light enough to carry comfortably and organized enough for quick access.
Keep entry records easy to retrieve
Separate originals from backups: Carry your passport securely and store copies in a different place. Save flight details, hotel addresses, insurance contacts, and any required entry records both online and offline.
Entry conditions depend on nationality and can change, so confirm them through official channels rather than relying on an old checklist.Travel Japan, operated by the Official Japan National Tourism Organization, provides free advice and information to travelers planning destinations and practical arrangements.
Pack for a normal sightseeing day
Carry only what you’ll use: A compact day bag can hold water, tissues, hand sanitizer, a small towel, sunscreen, medication, a charging kit, and a foldable shopping bag. Add rain protection when the forecast supports it.
Leave spare outfits, full toiletry bottles, and unnecessary electronics at the hotel. A heavy day bag becomes more frustrating with every staircase, station corridor, and standing journey.
Protect private information
Lock sensitive records: Use your phone’s passcode and keep document scans in protected storage. A luggage tag should provide enough information for return without displaying your complete home address to everyone nearby.
Pro tip: Write your first accommodation’s details on paper and place it inside the day bag. It remains available if your phone battery runs out during arrival.
Leave it home, buy it there, and close the suitcase
Leave bulky duplicates, speculative outfits, valuable jewelry, and full-size everyday products at home. Buy ordinary consumables after arrival if you’re staying near shops. Before closing the bag, test its weight, confirm every essential document, and remove anything included only for an unlikely scenario.
Remove duplicates without a clear purpose
Question every backup: One spare charging cable may be sensible; several heavy chargers usually aren’t. The same principle applies to shoes, jackets, books, cosmetics, and camera equipment.
Don’t bring specialist outdoor gear unless the itinerary requires it. City sightseeing doesn’t demand expedition equipment, and a short formal dinner rarely justifies an entire second wardrobe. Valuable jewelry can also create worry without improving the trip.
Buy ordinary consumables after arrival
Save space for personal essentials: Common toiletries, snacks, stationery, umbrellas, and simple clothing accessories are generally easier to replace than prescription items or products needed for allergies.
Your arrival time matters. If you’ll reach a remote property late, don’t depend on immediate shopping. Carry what you need for the first night, then replenish ordinary items when stores are open.
Run one final departure check
Finish with essentials, not extras: Confirm your passport, wallet, medication, phone, charging kit, transport details, and first-night address. Lift and move the packed luggage yourself. If you can’t handle it through a station, remove items before departure.
- Review the latest weather for every destination
- Confirm train luggage requirements for booked services
- Place medication and documents in your carry-on
- Test chargers, adapters, and offline files
- Check that shoes are comfortable and season-appropriate
- Leave room for purchases rather than packing the case tightly
An Ultimate Japan Travel Checklist may promise everything, and one source even states, “This is a comprehensive list covering every possible item.” Your suitcase shouldn’t contain every possible item. It should contain the smallest reliable set for your season, route, accommodation, health needs, and transport plans.
Pro tip: Photograph the open suitcase before closing it. The image can remind you where small items are packed and provide a simple record if baggage is delayed.