Guida visiva: Come installare l'eSIM di Yoho Mobile in 2 minuti
Connettersi per il tuo prossimo viaggio non dovrebbe essere un problema. Con una eSIM di Yoho Mobile, puoi essere online in meno tempo di quanto ne serva per preparare un caffè. Dimentica le minuscole schede SIM di plastica: questa guida visiva passo-passo ti accompagnerà attraverso l’intero processo di installazione sia su iPhone che su Android, utilizzando screenshot chiari per renderlo a prova di errore.
Pronto a sperimentare una connettività globale senza interruzioni? Puoi anche provare il nostro servizio con una eSIM di prova gratuita per vedere quanto è facile!
Prima di iniziare: Una rapida checklist
Per garantire una configurazione senza intoppi, assicurati di avere a portata di mano quanto segue:
- Una connessione Wi-Fi stabile: Avrai bisogno di un accesso a Internet per scaricare e installare il tuo profilo eSIM.
- Un dispositivo compatibile con eSIM: La maggior parte degli smartphone moderni supporta la tecnologia eSIM, ma è sempre meglio esserne sicuri. Controlla qui la nostra lista ufficiale dei dispositivi compatibili.
- La tua conferma di Yoho Mobile: Tieni aperta l’email di conferma dell’acquisto o l’app di Yoho Mobile. È qui che troverai i dettagli per l’installazione.
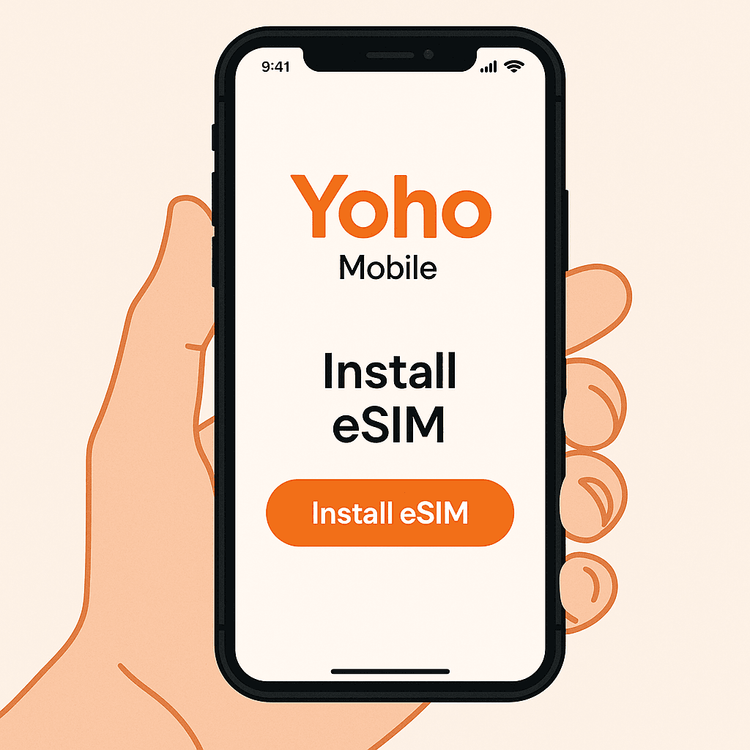
Installazione su iOS (iPhone): Il metodo 1-Click
Yoho Mobile rende le cose incredibilmente semplici per gli utenti iPhone. Grazie al nostro processo ottimizzato, non è nemmeno necessario scansionare un codice QR.
Come attivare l’eSIM di Yoho Mobile su iPhone senza codice QR
- Apri la tua conferma: Dopo aver acquistato il tuo piano, vai all’app di Yoho Mobile o apri l’email di conferma.
- Tocca ‘Installa eSIM’: Vedrai un pulsante “Installa eSIM” ben visibile. Basta toccarlo.
- Segui le istruzioni sullo schermo: Il tuo iPhone prenderà automaticamente il controllo. Vedrai messaggi come “Attiva eSIM” e “Continua”. Segui semplicemente i passaggi; di solito ci vuole meno di un minuto.
- Etichetta la tua eSIM: iOS ti chiederà di dare un’etichetta al tuo nuovo piano cellulare. Ti consigliamo di nominarlo “Yoho Viaggi” o “Yoho Mobile” per una facile identificazione. Questo ti aiuta a gestire le tue schede SIM digitali.
- Imposta le tue linee predefinite: Scegli quale linea usare per le chiamate vocali, iMessage/FaceTime e, soprattutto, i Dati Cellulare. Seleziona la tua eSIM Yoho Mobile per i Dati Cellulare per evitare costosi addebiti di roaming dal tuo operatore principale.
Fatto! Il tuo iPhone è ora dotato della connettività di Yoho Mobile.
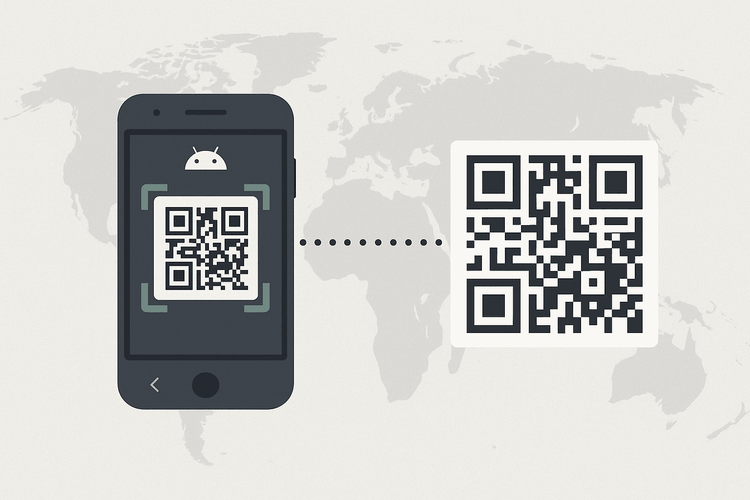
Installazione su Android: Screenshot passo-passo
Anche gli utenti Android possono connettersi altrettanto rapidamente utilizzando il metodo standard del codice QR. Questa guida all’installazione dell’eSIM per Android con screenshot spiega tutto nel dettaglio.
Metodo 1: Scansione del codice QR
- Vai alle Impostazioni: Vai su Impostazioni > Rete e Internet > SIM.
- Aggiungi una eSIM: Tocca l’icona + o “Aggiungi eSIM” (potrebbe anche chiamarsi “Vuoi scaricare una SIM?”).
- Scansiona il tuo codice QR: La fotocamera del tuo telefono si attiverà. Puntala verso il codice QR che trovi nell’app di Yoho Mobile o nell’email di conferma.
- Conferma e attiva: Il tuo telefono riconoscerà il piano. Tocca “Aggiungi” o “Scarica” per installare il profilo eSIM.
- Etichetta e configura: Proprio come su iOS, dai un nome alla tua nuova eSIM (es. ‘Yoho Viaggi’) e impostala come SIM preferita per i dati mobili.
Metodo 2: Installazione manuale
Se per qualsiasi motivo non riesci a scansionare il codice QR, puoi inserire i dettagli manualmente.
- Nella schermata “Aggiungi eSIM”, seleziona l’opzione per l’inserimento manuale (es. “Serve aiuto?” o “Inserisci il codice manualmente”).
- Copia e incolla l’Indirizzo SM-DP+ e il Codice di attivazione dalla tua conferma di Yoho Mobile.
- Tocca “Continua” per scaricare e installare il profilo.
Hai bisogno di un piano per il tuo viaggio in Europa o in Asia? Esplora i nostri piani dati flessibili e rimani connesso dal momento in cui atterri.
Cosa fare dopo aver installato la tua eSIM
La tua scheda SIM digitale è installata, ma ci sono alcuni passaggi finali per assicurarsi che tutto funzioni perfettamente una volta arrivato a destinazione.
- Attiva il Roaming Dati: Vai alle impostazioni cellulare del tuo telefono, seleziona la tua eSIM Yoho Mobile e assicurati che l’interruttore del Roaming Dati sia ATTIVO. Questo è necessario affinché l’eSIM si connetta alle reti locali. Non preoccuparti: con un piano prepagato Yoho, non incorrerai in costi di roaming imprevisti.
- Mantieni attiva la tua linea principale (Opzionale): Il bello della tecnologia dual SIM è che puoi mantenere attivo il tuo numero di casa per chiamate e messaggi mentre usi Yoho per i dati. Puoi scoprire di più su come funziona sulle pagine di supporto ufficiali di Apple e Google.
- Rimani protetto con Yoho Care: Hai esaurito i dati ad alta velocità? Nessun problema. Con Yoho Care, non sei mai completamente offline. Forniamo una connessione dati di base per mantenerti online per attività essenziali come la messaggistica e le mappe, dandoti tranquillità fino a quando non potrai ricaricare.
Domande Frequenti (FAQ)
Quanto tempo ci vuole per attivare la mia eSIM Yoho Mobile?
L’attivazione è quasi istantanea. Il processo di installazione stesso, come mostrato sopra, richiede meno di due minuti. Una volta atterrato a destinazione e attivata la tua linea eSIM, dovrebbe connettersi a una rete locale in pochi istanti.
Posso installare la mia eSIM prima di viaggiare?
Sì, e lo consigliamo vivamente! Puoi installare la tua eSIM tramite Wi-Fi comodamente da casa tua prima ancora di fare le valigie. Ricorda solo di passare i dati cellulare alla eSIM di Yoho Mobile solo dopo essere arrivato a destinazione per assicurarti che il periodo di validità del tuo piano inizi correttamente. Per ulteriori consigli sulle tempistiche, consulta la nostra guida su quando attivare la tua eSIM Yoho.
Cosa devo fare se il mio codice QR non funziona o se riscontro un problema?
Innanzitutto, assicurati di avere una connessione Wi-Fi stabile. Se il codice QR continua a non funzionare, prova il metodo di installazione manuale descritto nella sezione Android. Per altri problemi, come l’eSIM bloccata su “In attivazione”, un semplice riavvio del telefono spesso aiuta. Se i problemi persistono, il nostro team di supporto è disponibile 24/7. Puoi anche consultare la nostra guida sulla risoluzione dei problemi comuni delle eSIM.
Devo rimuovere la mia scheda SIM principale per usare l’eSIM?
No, non è necessario. Una eSIM è una SIM digitale, quindi funziona insieme alla tua scheda SIM fisica. Questo ti permette di usare due piani su un unico telefono contemporaneamente, il che è perfetto per i viaggiatori che vogliono mantenere il proprio numero di casa per le chiamate mentre usano un piano dati locale. È uno dei vantaggi principali delle eSIM secondo fonti del settore come la GSMA.
Conclusione
Sei pronto! Installare la tua eSIM Yoho Mobile è un processo rapido e semplice che sblocca una connettività conveniente e senza problemi in tutto il mondo. Seguendo questa guida visiva, puoi dire addio ai costosi addebiti di roaming e rimanere connesso come una persona del posto, che tu sia un utente iPhone o Android.