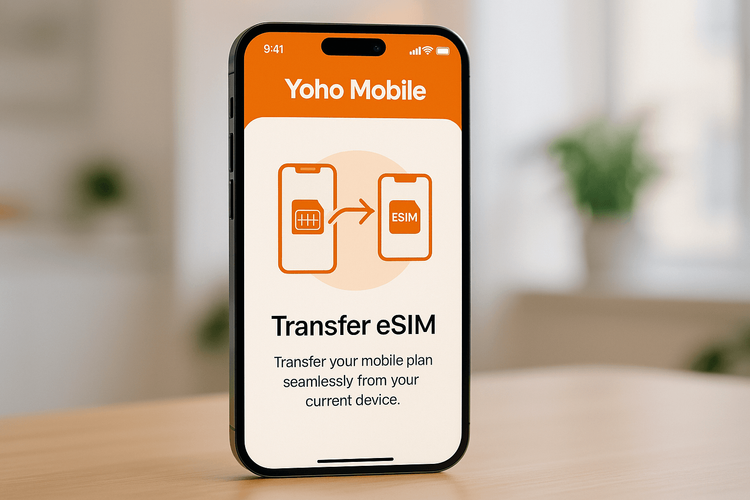
Comment transférer une eSIM Yoho Mobile sur un iPhone 17 avec iOS 26
Félicitations pour votre nouvel iPhone 17 ! Le dernier appareil d’Apple, fonctionnant sous iOS 26, est une merveille technologique. Mais avant de plonger dans ses fonctionnalités incroyables, vous devez vous connecter. Si vous êtes un utilisateur de Yoho Mobile, vous vous demandez peut-être comment déplacer votre eSIM de votre ancien appareil vers le nouveau.
Ne vous inquiétez pas, le processus est incroyablement simple. Ce guide vous expliquera les étapes fluides pour transférer votre eSIM Yoho Mobile, vous assurant d’être en ligne en quelques minutes. Prêt à commencer ? Assurons-nous que votre nouvel iPhone dispose du meilleur compagnon de voyage avec nos forfaits de données flexibles.
Avant de commencer : une checklist rapide
Pour garantir un transfert d’eSIM sans accroc, passons rapidement en revue quelques prérequis. Un peu de préparation peut vous faire gagner beaucoup de temps et vous éviter d’éventuels tracas. Voici ce dont vous aurez besoin :
- Les deux iPhones : Gardez votre ancien iPhone (avec l’eSIM Yoho Mobile active) et votre nouvel iPhone 17 à proximité.
- Alimentation : Assurez-vous que les deux appareils sont suffisamment chargés ou branchés à une source d’alimentation.
- Connexion Wi-Fi : Un réseau Wi-Fi stable est nécessaire pour le processus de Démarrage rapide.
- iOS 26 : Assurez-vous que les deux appareils fonctionnent sous iOS 26 pour une expérience de transfert des plus fluides.
- Code d’accès : Ayez le code d’accès de votre ancien iPhone à portée de main.
- Compatibilité : Bien que l’iPhone 17 soit conçu pour l’eSIM, vous pouvez toujours vérifier notre liste complète d’appareils compatibles eSIM pour d’autres modèles.
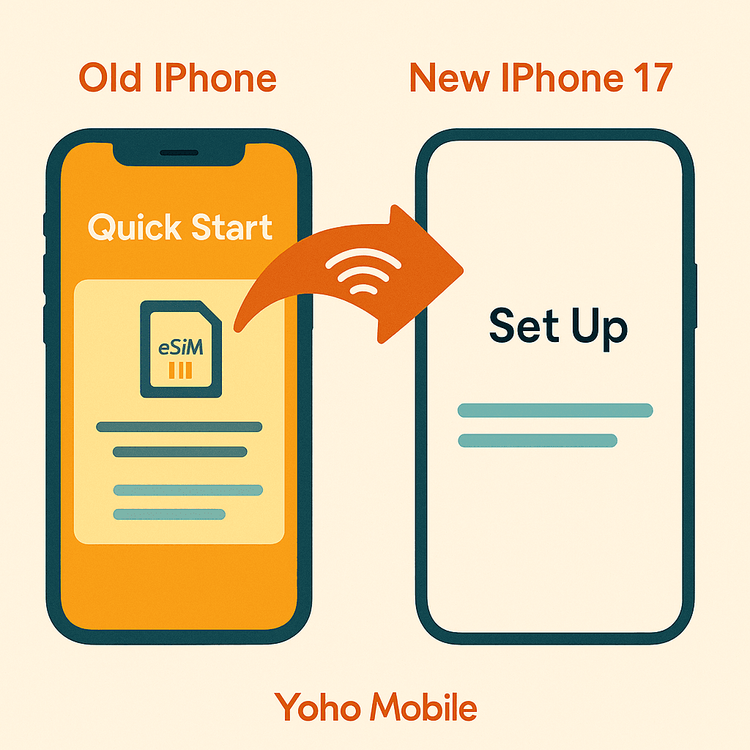
La méthode la plus simple : Transférer votre eSIM Yoho Mobile avec le Démarrage rapide d’iOS 26
Apple a rendu le déplacement de votre SIM numérique vers un nouvel appareil plus facile que jamais. La fonctionnalité Démarrage rapide d’iOS 26 inclut une fonction dédiée pour transférer votre forfait cellulaire. Pour les utilisateurs de Yoho Mobile sur iOS, cela signifie qu’il n’est pas nécessaire de scanner des codes QR ou de saisir manuellement les détails d’activation. Tout se fait à l’écran.
Voici les instructions détaillées pour le transfert d’eSIM sur l’iPhone 17 :
- Démarrez la configuration : Placez votre nouvel iPhone 17 à côté de votre ancien iPhone. L’écran de Démarrage rapide devrait apparaître automatiquement sur votre nouvel appareil. Suivez les premières instructions à l’écran.
- Accédez à la configuration cellulaire : Poursuivez le processus de configuration jusqu’à atteindre l’écran « Configurer le forfait cellulaire ». iOS détectera automatiquement les eSIM sur votre ancien appareil.
- Sélectionnez votre numéro : Votre numéro de téléphone eSIM Yoho Mobile apparaîtra dans une liste. Sélectionnez-le et touchez « Continuer ».
- Confirmez le transfert : Une notification apparaîtra sur votre ancien iPhone vous demandant de confirmer le transfert. Touchez « Transférer » et saisissez votre code d’accès si nécessaire.
- Activation en cours : Votre nouvel iPhone 17 va maintenant activer l’eSIM. Cela ne prend généralement qu’une minute. Une fois terminé, votre service Yoho Mobile sera actif sur votre nouvel appareil, et l’eSIM sur votre ancien téléphone sera désactivée.
C’est tout ! Vous avez réussi le transfert de l’eSIM Yoho Mobile vers votre nouvel iPhone.
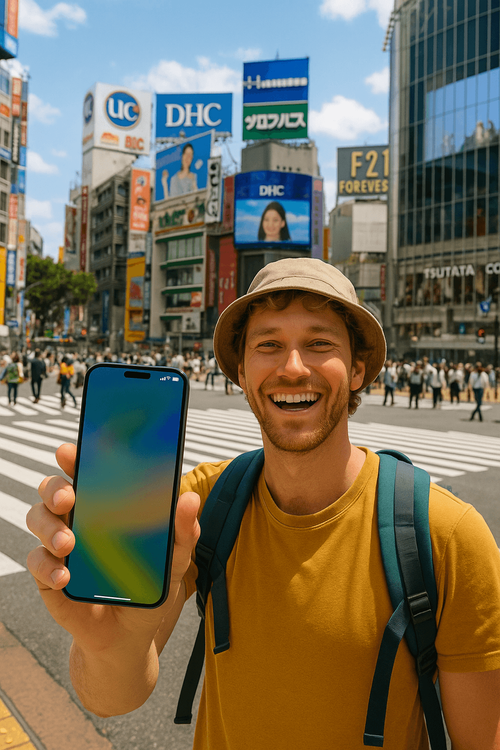
Pourquoi rester connecté avec Yoho Mobile sur votre nouvel iPhone 17 ?
Maintenant que votre nouvel appareil est connecté, vous pouvez continuer à profiter des avantages inégalés de Yoho Mobile, surtout lorsque vous voyagez. Que vous planifiez un voyage aux États-Unis ou un tour de plusieurs pays en Europe, nous avons ce qu’il vous faut.
- Ne perdez jamais la connexion avec Yoho Care : Inquiet de manquer de données ? Avec Yoho Care, vous avez accès à un réseau de secours même si votre forfait expire, vous n’êtes donc jamais vraiment hors ligne.
- Créez votre propre forfait : Ne payez pas pour ce dont vous n’avez pas besoin. Nos forfaits flexibles vous permettent de personnaliser les données, la durée et les pays, créant ainsi le pack parfait pour votre voyage vers des destinations comme le Japon ou le Royaume-Uni.
- Essai sans risque : Un ami ou un membre de votre famille découvre l’eSIM ? Proposez-lui d’essayer notre service avec un essai eSIM gratuit pour faire l’expérience d’une connectivité fluide.
Foire aux questions (FAQ)
Combien de temps prend le transfert de l’eSIM Yoho Mobile vers un nouvel iPhone 17 ?
Le processus de transfert est incroyablement rapide. En utilisant la fonction Démarrage rapide d’iOS 26, l’ensemble de la procédure à l’écran et l’activation ne devraient pas prendre plus de 2 à 3 minutes. C’est beaucoup plus rapide que d’attendre la livraison et l’activation d’une carte SIM physique.
Puis-je transférer mon eSIM Yoho Mobile si j’ai déjà configuré mon iPhone 17 ?
Oui. Si vous avez ignoré la configuration cellulaire lors du Démarrage rapide initial, vous pouvez toujours transférer votre eSIM. Allez dans Réglages > Données cellulaires > Ajouter une eSIM. Vous devriez voir une option « Transférer depuis un iPhone à proximité ». Suivez les instructions à l’écran pour terminer le processus.
Mon ancienne eSIM sur l’iPhone précédent fonctionnera-t-elle encore après le transfert ?
Non. Une fois l’eSIM transférée et activée avec succès sur votre nouvel iPhone 17, le profil eSIM sur votre ancien appareil sera automatiquement et définitivement désactivé. C’est une mesure de sécurité pour garantir que votre numéro n’est actif que sur un seul appareil à la fois, conformément aux normes GSMA.
Que dois-je faire si le transfert de l’eSIM échoue sur iOS 26 ?
Tout d’abord, assurez-vous que les deux téléphones sont connectés à un réseau Wi-Fi stable et sont proches l’un de l’autre. Redémarrez les deux appareils et réessayez le processus de transfert. Si le problème persiste, veuillez consulter notre page de contact pour obtenir de l’aide. Notre équipe est disponible 24/7 pour vous aider à vous connecter.
Conclusion : une mise à niveau fluide
Passer à un iPhone 17 est une expérience excitante, et le transfert de votre eSIM Yoho Mobile devrait en faire partie intégrante et sans accroc. Grâce aux fonctionnalités intégrées d’iOS 26, le déplacement de votre forfait cellulaire est un processus rapide, sécurisé et à l’écran qui ne prend que quelques minutes. Fini les manipulations d’outils d’éjection de SIM ou le scan de codes QR.
Maintenant que tout est configuré, vous êtes prêt à explorer le monde avec votre nouvel appareil. Assurez-vous d’être équipé des meilleurs forfaits de données pour votre prochaine aventure. Découvrez les forfaits eSIM mondiaux de Yoho Mobile dès aujourd’hui et voyagez en toute confiance !