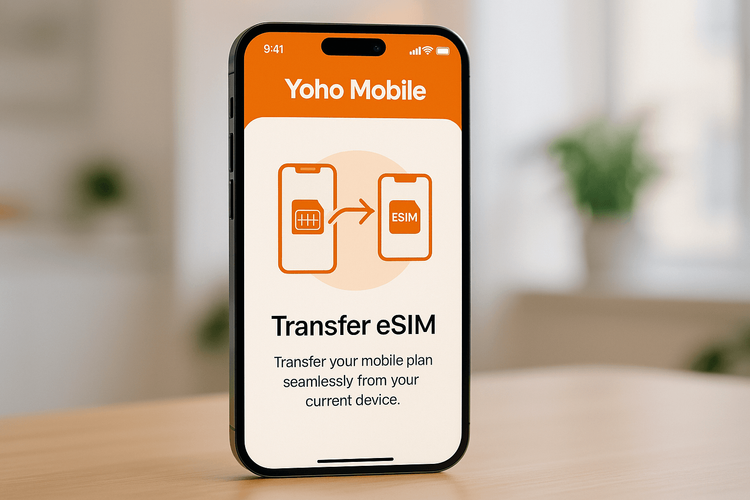
How to Transfer Yoho Mobile eSIM to iPhone 17 with iOS 26
Congratulations on your new iPhone 17! The latest device from Apple, powered by iOS 26, is a technological marvel. But before you dive into its amazing features, you need to get connected. If you’re a Yoho Mobile user, you might be wondering how to move your eSIM from your old device to your new one.
Don’t worry, the process is incredibly simple. This guide will walk you through the seamless steps to transfer your Yoho Mobile eSIM, ensuring you’re online in minutes. Ready to get started? Let’s ensure your new iPhone has the best travel companion with our flexible data plans.
Before You Start: A Quick Checklist
To ensure a smooth eSIM transfer, let’s quickly go over a few prerequisites. A little preparation can save you a lot of time and potential headaches. Here’s what you’ll need:
- Both iPhones: Keep your old iPhone (with the active Yoho Mobile eSIM) and your new iPhone 17 nearby.
- Power: Ensure both devices are sufficiently charged or connected to a power source.
- Wi-Fi Connection: A stable Wi-Fi network is required for the Quick Start process.
- iOS 26: Make sure both devices are running iOS 26 for the most streamlined transfer experience.
- Passcode: Have the passcode for your old iPhone ready.
- Compatibility: While the iPhone 17 is designed for eSIM, you can always double-check our complete eSIM compatible devices list for other models.
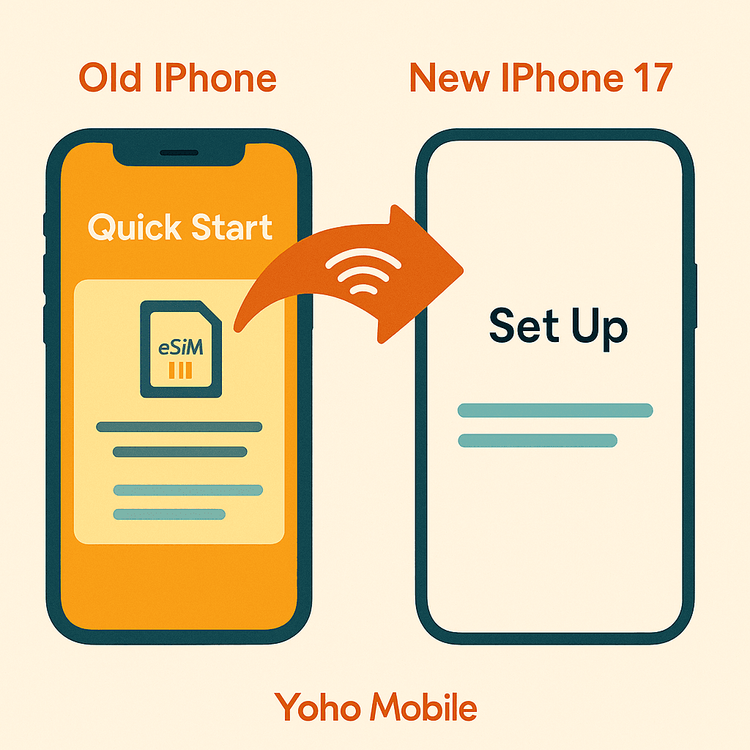
The Easiest Way: Transferring Your Yoho Mobile eSIM with iOS 26 Quick Start
Apple has made moving your digital SIM to a new device easier than ever. The iOS 26 Quick Start feature includes a dedicated function for transferring your cellular plan. For Yoho Mobile users on iOS, this means no scanning QR codes or manually entering activation details. It’s all done on-screen.
Here are the step-by-step iPhone 17 eSIM transfer instructions:
- Begin Setup: Place your new iPhone 17 next to your old iPhone. The Quick Start screen should automatically appear on your new device. Follow the initial on-screen prompts.
- Reach Cellular Setup: Continue the setup process until you reach the ‘Set Up Cellular’ screen. iOS will automatically detect the eSIMs on your old device.
- Select Your Number: Your Yoho Mobile eSIM phone number will appear in a list. Select it and tap ‘Continue’.
- Confirm the Transfer: A prompt will appear on your old iPhone asking you to confirm the transfer. Tap ‘Transfer’ and enter your passcode if required.
- Activation in Progress: Your new iPhone 17 will now activate the eSIM. This usually takes just a minute. Once completed, your Yoho Mobile service will be active on your new device, and the eSIM on your old phone will be deactivated.
That’s it! You’ve successfully completed the Yoho Mobile eSIM transfer to your new iPhone.
Why Stay Connected with Yoho Mobile on Your New iPhone 17?
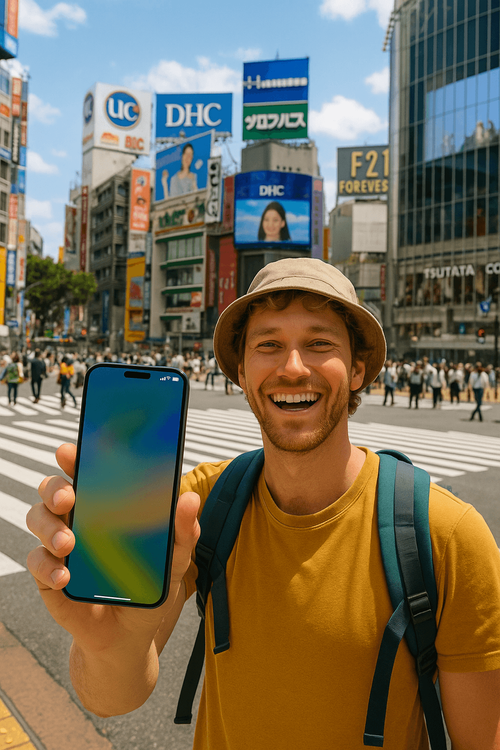
Now that your new device is connected, you can continue enjoying the unparalleled benefits of Yoho Mobile, especially when you travel. Whether you’re planning a trip to the USA or a multi-country tour of Europe, we’ve got you covered.
- Never Lose Connection with Yoho Care: Worried about running out of data? With Yoho Care, you get access to a backup network even if your plan expires, so you’re never truly offline.
- Build Your Own Plan: Don’t pay for what you don’t need. Our flexible plans let you customize data, duration, and countries, creating the perfect package for your trip to destinations like Japan or the United Kingdom.
- Risk-Free Trial: Have a friend or family member who’s new to eSIM? Let them try our service with a free eSIM trial to experience seamless connectivity firsthand.
Frequently Asked Questions (FAQ)
How long does the Yoho Mobile eSIM transfer to a new iPhone 17 take?
The transfer process is incredibly fast. Using the iOS 26 Quick Start feature, the entire on-screen procedure and activation should take no more than 2-3 minutes. This is much faster than waiting for a physical SIM card to be delivered and activated.
Can I transfer my Yoho Mobile eSIM if I already set up my iPhone 17?
Yes. If you skipped the cellular setup during the initial Quick Start, you can still transfer your eSIM. Go to Settings > Cellular > Add eSIM. You should see an option to ‘Transfer From Nearby iPhone.’ Follow the on-screen prompts to complete the process.
Will my old eSIM on the previous iPhone still work after the transfer?
No. Once the eSIM is successfully transferred and activated on your new iPhone 17, the eSIM profile on your old device will be automatically and permanently deactivated. This is a security measure to ensure your number is only active on one device at a time, as outlined by GSMA standards.
What should I do if the eSIM transfer fails on iOS 26?
First, ensure both phones are connected to a stable Wi-Fi network and are close to each other. Restart both devices and try the transfer process again. If the issue persists, please visit our contact page for assistance. Our team is available 24/7 to help you get connected.
Conclusion: A Seamless Upgrade
Upgrading to an iPhone 17 is an exciting experience, and transferring your Yoho Mobile eSIM should be a seamless part of it. Thanks to the integrated features of iOS 26, moving your cellular plan is a quick, secure, on-screen process that takes only a few minutes. No more fumbling with SIM ejector tools or scanning QR codes.
Now that you’re all set up, you’re ready to explore the world with your new device. Make sure you’re equipped with the best data plans for your next adventure. Explore Yoho Mobile’s global eSIM plans today and travel with confidence!