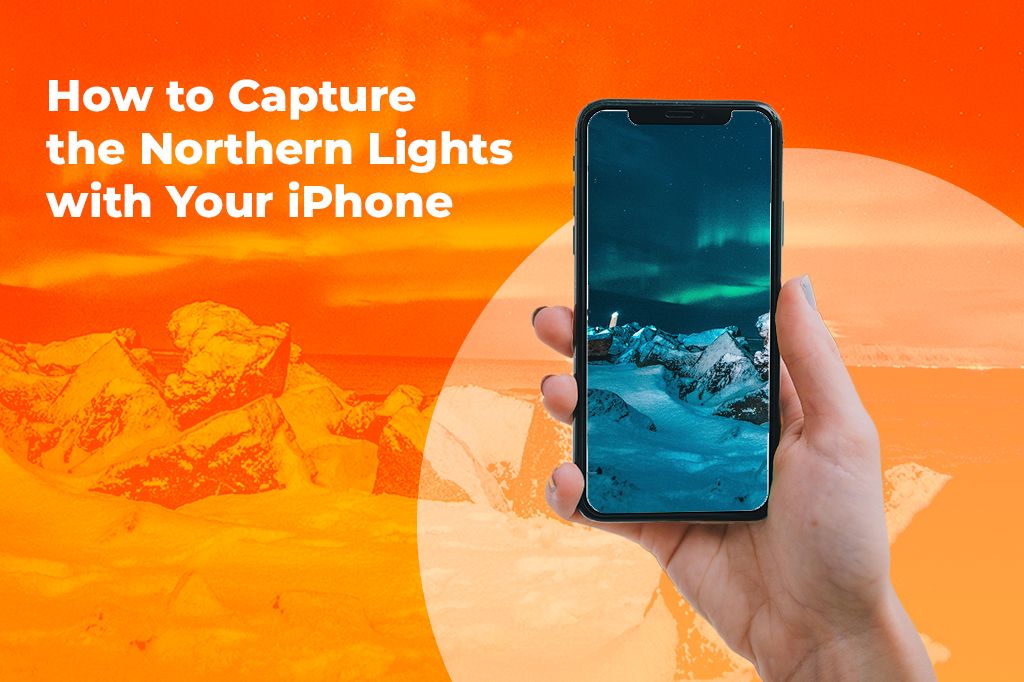
How to Capture the Northern Lights with Your iPhone
The Northern Lights are one of nature’s most stunning light shows, but capturing them on your iPhone is not as easy as just pointing and shooting. But with the right know-how, it’s completely doable.
This guide breaks down the science behind the aurora, how your phone’s camera sees the aurora differently than your eyes, and some practical tips to get clear, colorful shots in the coldest conditions.
Picture by Nicolas J Leclercq on Unsplash
The Science and Soul of the Aurora
Before you try to photograph the Northern Lights, you need to know what you’re actually looking at. The aurora isn’t just pretty colors in the sky, it’s a wild natural reaction between solar particles and Earth’s atmosphere. When the sun sends off a burst of energy, some of those particles end up near our planet. Most bounce off thanks to Earth’s magnetic field, but a few get pulled in near the poles. When they hit the upper atmosphere, they interact with oxygen and nitrogen, and those collisions release light. That’s what we see dancing overhead.
The lights don’t move randomly either. Their shape follows the invisible lines of Earth’s magnetic field. That’s why they sometimes pulse, flicker, or stretch across the sky in layers. They can shift in seconds, or hold a shape for a while depending on what’s going on in the atmosphere. This movement is what makes photographing the aurora both exciting and frustrating.
Green is the color you’ll see most often. It’s produced by oxygen at a certain altitude and it’s also the easiest color for our eyes to pick up in the dark. Reds and purples are a lot rarer. They need different conditions like different altitudes or more intense solar activity and even if they do show up, your eyes might not see them. The human eye isn’t great at seeing color in low light, especially at the edges of the spectrum.
Your iPhone has the upper hand on this. Even without a fancy DSLR, newer iPhones can capture way more light and color than your eyes can. Features like Night Mode and RAW let the camera gather light over a few seconds, which helps bring out subtle reds, purples, and deeper greens. You might not notice those colors when you’re looking up, but they’ll show up in your photos and sometimes they look unreal compared to what you saw in the moment. This gap between what your eye sees and what your camera captures can be surprising.
What Your iPhone Camera Can and Can’t Do
If you’re hoping to capture the Northern Lights on your iPhone, knowing what it can do and trying a few tricks can make a big difference. The latest iPhones handle low light much better, but older ones struggle more.
From the XR to the 15 Pro Max, there’s a huge difference in how well they shoot at night. Newer models have Night Mode, which lets the camera take longer exposures to brighten dark scenes. Pro models add ProRAW support, giving you more control over editing later, especially with tricky colors and shadows.

Speaking of ProRAW, it’s worth knowing why this is important. This format keeps way more detail and color info than the usual HEIC files your iPhone takes. That means when you’re shooting something subtle like the aurora, those faint colors and shifts don’t get lost. The trade-off is bigger file sizes, but if you like to tweak your photos afterward, it’s worth it.
One key thing to focus on is sensor size and not megapixels. A bigger sensor collects more light, so your photos look cleaner and colors pop better, especially when it’s dark.
Here’s a cool tip: Instead of just snapping photos, try recording short 4K videos in Night Mode. iPhones get better at handling low light in video, and by grabbing still frames from your clips, you can catch sharp shots even if the aurora is moving fast or your hands aren’t perfectly steady. It’s a neat workaround when single photos don’t quite do the scene justice.
The “Dark Art” of Finding the Aurora
Seeing northern lights with an iPhone isn’t about luck alone. There are tools and tips that can seriously improve your chances, but no app will do all the work for you. You need some basic understanding, local insight, and patience.
Aurora forecast sites like the KP Index, for example, show how strong geomagnetic storms are. Higher numbers mean the lights might show up further south. Usually, a KP of 3 or above is good if you’re in the Arctic region. The Bz tilt shows how the solar wind interacts with Earth’s magnetic field. A negative (southward) Bz makes auroras more likely.
Where you go matters just as much as when. Some places are less crowded but still great for viewing. In Alaska, Murphy Dome is popular with locals because it’s easy to get to and has good dark skies. Denali National Park is amazing but harder to reach and the weather can be tricky. In Iceland, the Eastfjords have fewer tourists and wide-open skies, while Skógafoss on the south coast is easier to visit but busier. Norway’s Senja Island offers quiet, remote spots with minimal light pollution, while Tromsø has lots of tours but more city lights. In Canada, Yellowknife is the classic choice for stable weather and frequent shows, and Takhini Hot Springs near Whitehorse lets you soak while waiting for the lights.
Photo by Jacob Vizek on Unsplash
What Actually Works When It’s -25°C
When it hits -25°C, most gear you usually trust just doesn’t cut it. Tripods snap, batteries die fast, and your fingers freeze trying to tap your phone.
If you want your gear to survive the cold and get the shots, you need a plan for the frost. Keeping your iPhone warm is essential. The best trick I’ve found is using hand warmers combined with neoprene wraps. Hand warmers give off heat for hours, and the neoprene wrap keeps that heat in while shielding your phone from direct freezing air. It really helps your battery last longer and stops your phone from shutting off because of the cold.
Forget about standard tripods. The plastic ones become brittle and break easily. Carbon fiber or aluminum tripods with reinforced joints hold up much better in frost and stay stable on ice or snow. Look for adjustable legs and rubber feet, they grip better on slippery surfaces.
Have you forgotten your tripod at camp? Don’t panic. Frozen backpacks make surprisingly solid platforms if you place them on a flat surface. Driftwood or sturdy sticks can prop up your phone, and thermos mugs or insulated containers work as stable bases too. Snowbanks can even be shaped to hold your phone steady. Those work better than expected.
As for gloves, you need ones that actually keep your hands warm and let you use your phone’s touchscreen without freezing your fingers off. I tested some in Finnish Lapland that use conductive tips and thick insulation. They’re at the next level for shooting in extreme cold since you don’t have to take them off and risk frostbite every time you want to tap the screen.
Pro-Mode with No Pro App? Yes, You Can.
If you want better control over your iPhone camera for shooting the aurora, you don’t have to rely only on third-party apps. Despite Apple keeping some settings tucked away, there are a few native tricks that can help you squeeze out more from Night Mode.
First, here’s the AE/AF lock hack. When you’re framing your shot, tap and hold on to the brightest part of the scene until you see “AE/AF Lock” pop up. This locks the focus and exposure, so the camera won’t keep changing things mid-shot. Then, slide the exposure time all the way up to get the longest exposure Night Mode allows. It’s a simple trick, but it really helps capture more light and detail without extra software.
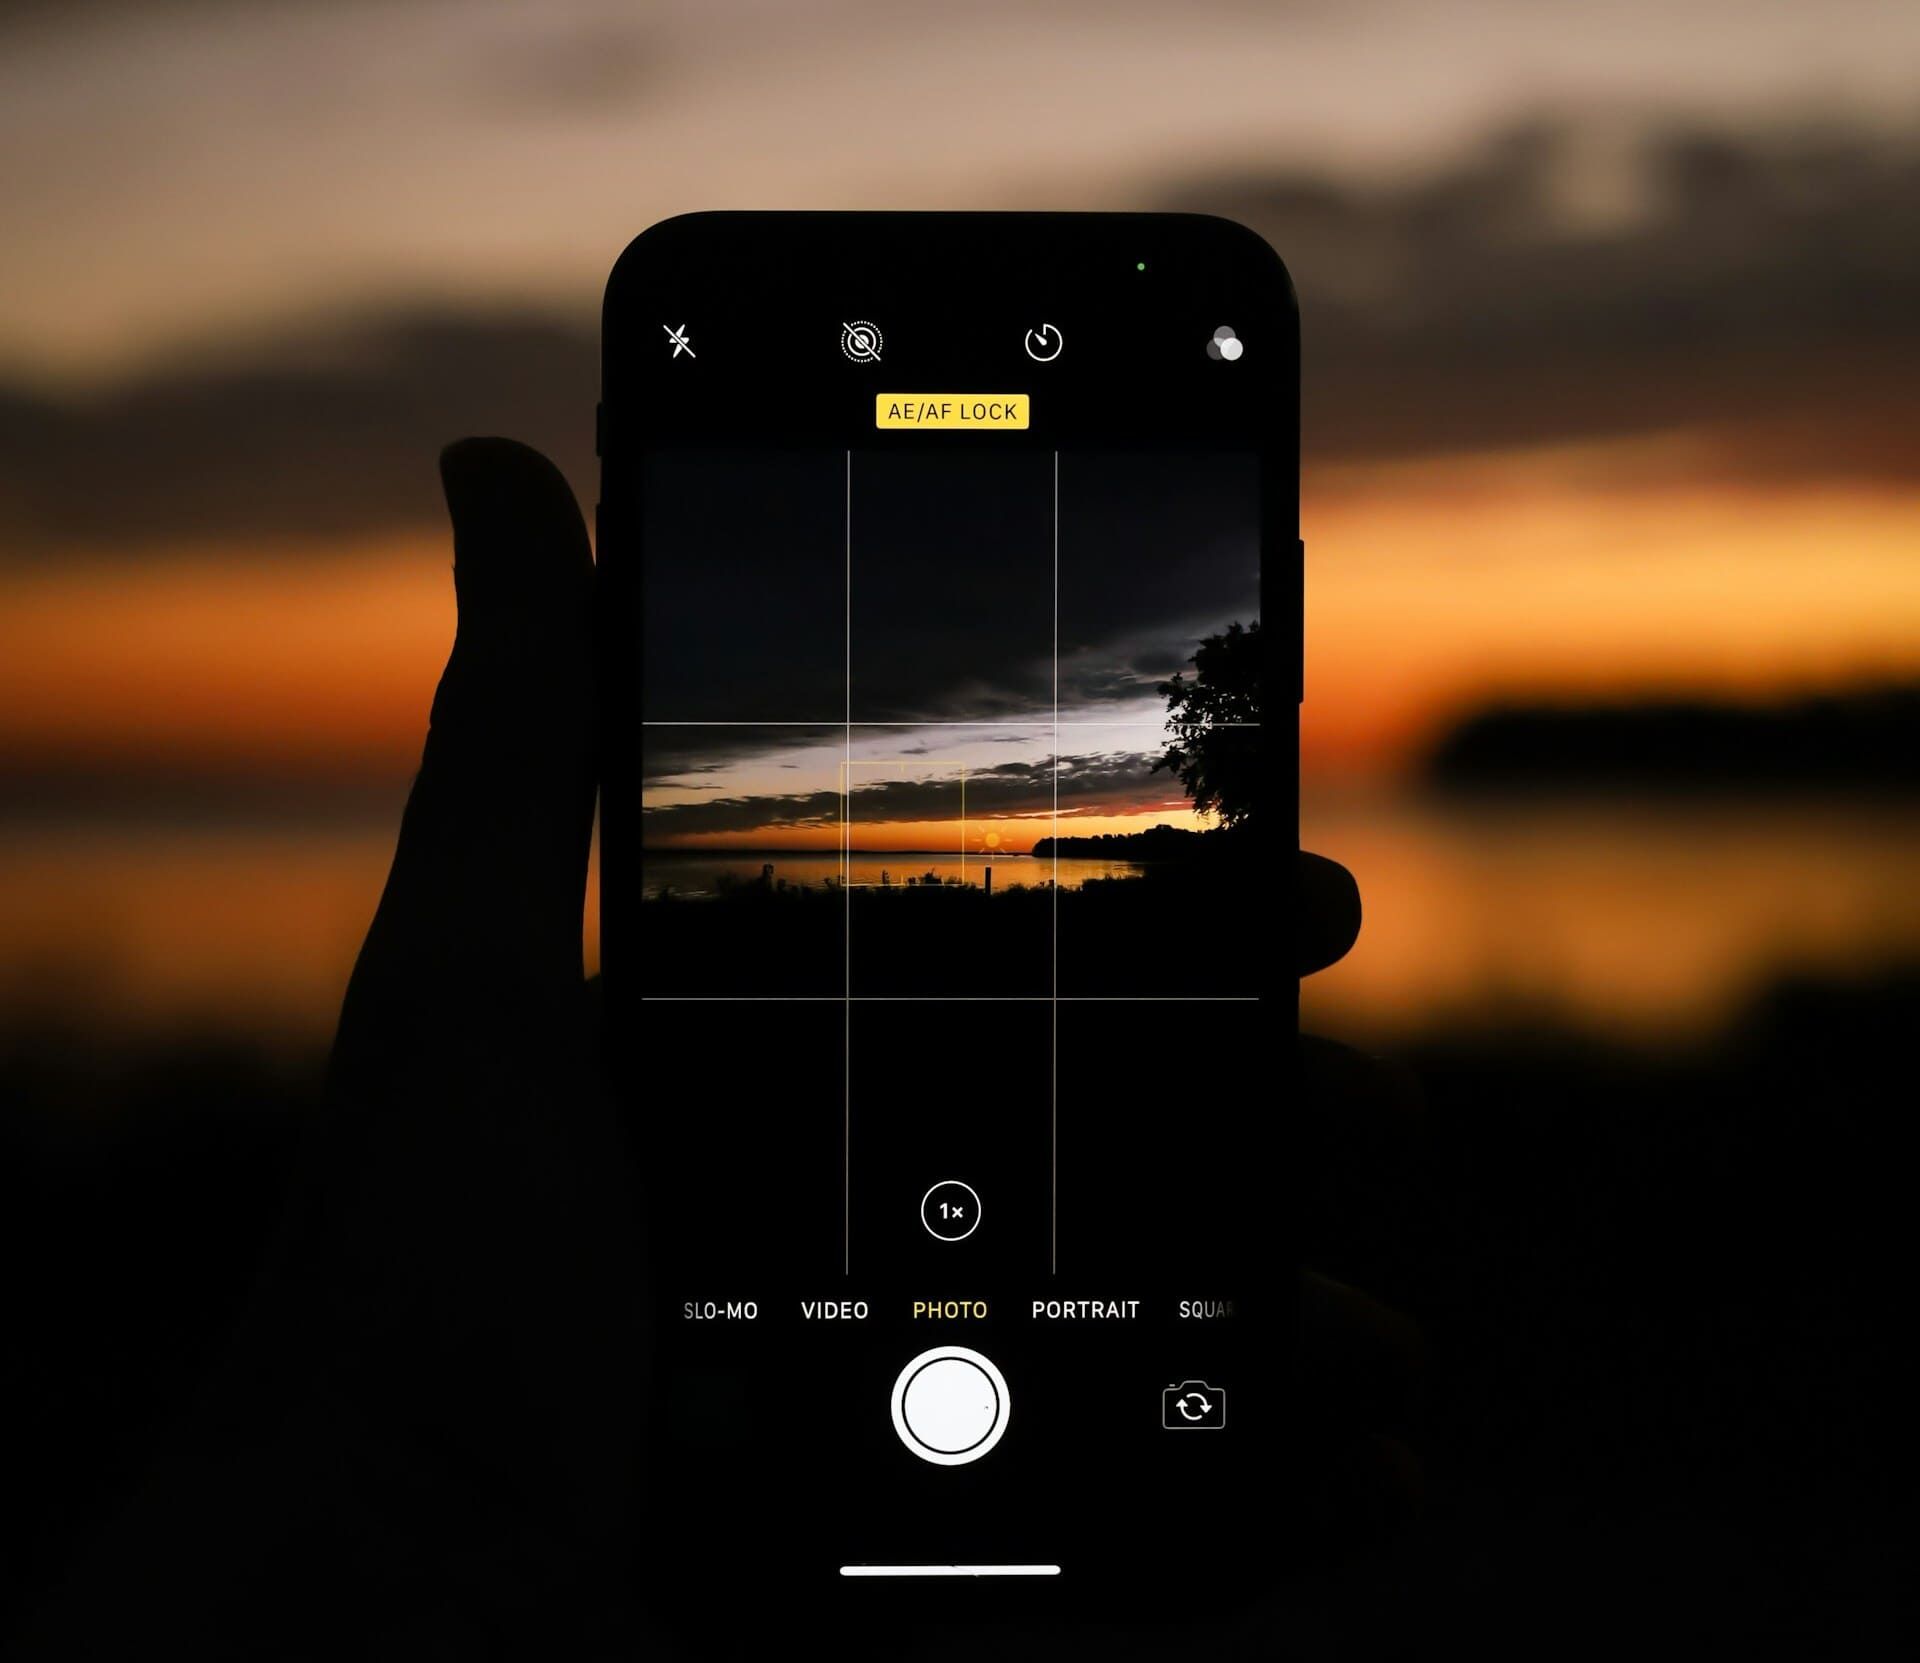
Photo by Mark Bishop on Unsplash
Another neat hidden feature appears when you long-press the exposure time icon in Night Mode (like the little “3s” that show how long the shutter will stay open). Long-pressing brings up a slider that lets you fine-tune the exposure time within the camera’s limits. That extra control can make a difference in faint light situations.
If you want to go further, there are some solid third-party apps worth trying:
-
NightCap is great for astrophotography and has a special Aurora Mode that helps with faint light. It lets you control focus, ISO, shutter speed, and even timelapses.
-
Slow Shutter Cam is focused on long exposures and light trails. It lets you go beyond the iPhone’s usual limits and is perfect for stacked exposures or capturing aurora movement.
-
ProCamera offers the most manual control, including ISO, shutter speed, white balance, and RAW shooting. It also supports time-lapses and has an interface that’s pretty easy to navigate.
Which one you pick depends on what you want to do. For time lapses showing Aurora movement, NightCap and ProCamera work well. For longer single shots or stacking to reduce noise, Slow Shutter Cam is your best bet.
One last thing to keep in mind: battery life. NightCap is pretty efficient over a couple of hours, but Slow Shutter Cam can eat through power faster because it uses the sensor constantly. ProCamera’s battery use sits somewhere in the middle. If you’re out shooting for a long stretch, switching to airplane mode and carrying a power bank is a good idea.
After the Flash: Editing for Emotional Resonance
Editing Aurora photos on your iPhone will certainly make your shots stand out (if you know how to). I usually work with Lightroom Mobile, Snapseed, and Darkroom. Together, they give you a lot of control without needing a desktop.
First, I import the RAW or ProRAW files into Lightroom Mobile. This app lets you fine-tune exposure, contrast, shadows, and color temperature. Getting the white balance right is one of the most important things. You want to fix any weird color casts but still keep the natural feel of the aurora. For example, cooling the temperature just a bit can cut down on any yellowish or greenish haze without killing the vibe.
Snapseed is great for selective edits. I like using the brush or selective tool to brighten the aurora itself while keeping the foreground darker. It also has noise-reduction tools that clean up the shadows without smudging the stars or softening the aurora’s details too much.
For quick adjustments or editing multiple photos at once, Darkroom is handy. Its tone curves and color grading tools help deepen the colors and make the aurora pop. It also lets you mask parts of the photo, so you can work on the sky and the landscape separately.
One tricky part is reducing noise in dark areas without losing star sharpness. Too much noise reduction makes stars blurry or wipes out faint aurora details. The trick is to apply noise reduction only where it’s needed: in the shadows away from stars.
Here’s a tip I don’t see shared often: Try adding a very mild radial blur on parts of the aurora. It mimics the natural flow and movement of those shifting light curtains. Just keep it subtle so you don’t lose the fine details, but it adds a nice sense of motion to a still image.
Planning to catch the Northern Lights?
Staying connected while you travel can be a hassle, especially in remote places. That’s why we recommend getting a free eSIM from Yoho Mobile. It lets you use data on your iPhone without swapping SIM cards or paying crazy roaming fees. You’ll be able to check Aurora forecasts, share your photos, and stay in touch easily, no matter where you are. If you decide to get a paid plan later, use code YOHO12 at checkout to save 12%!