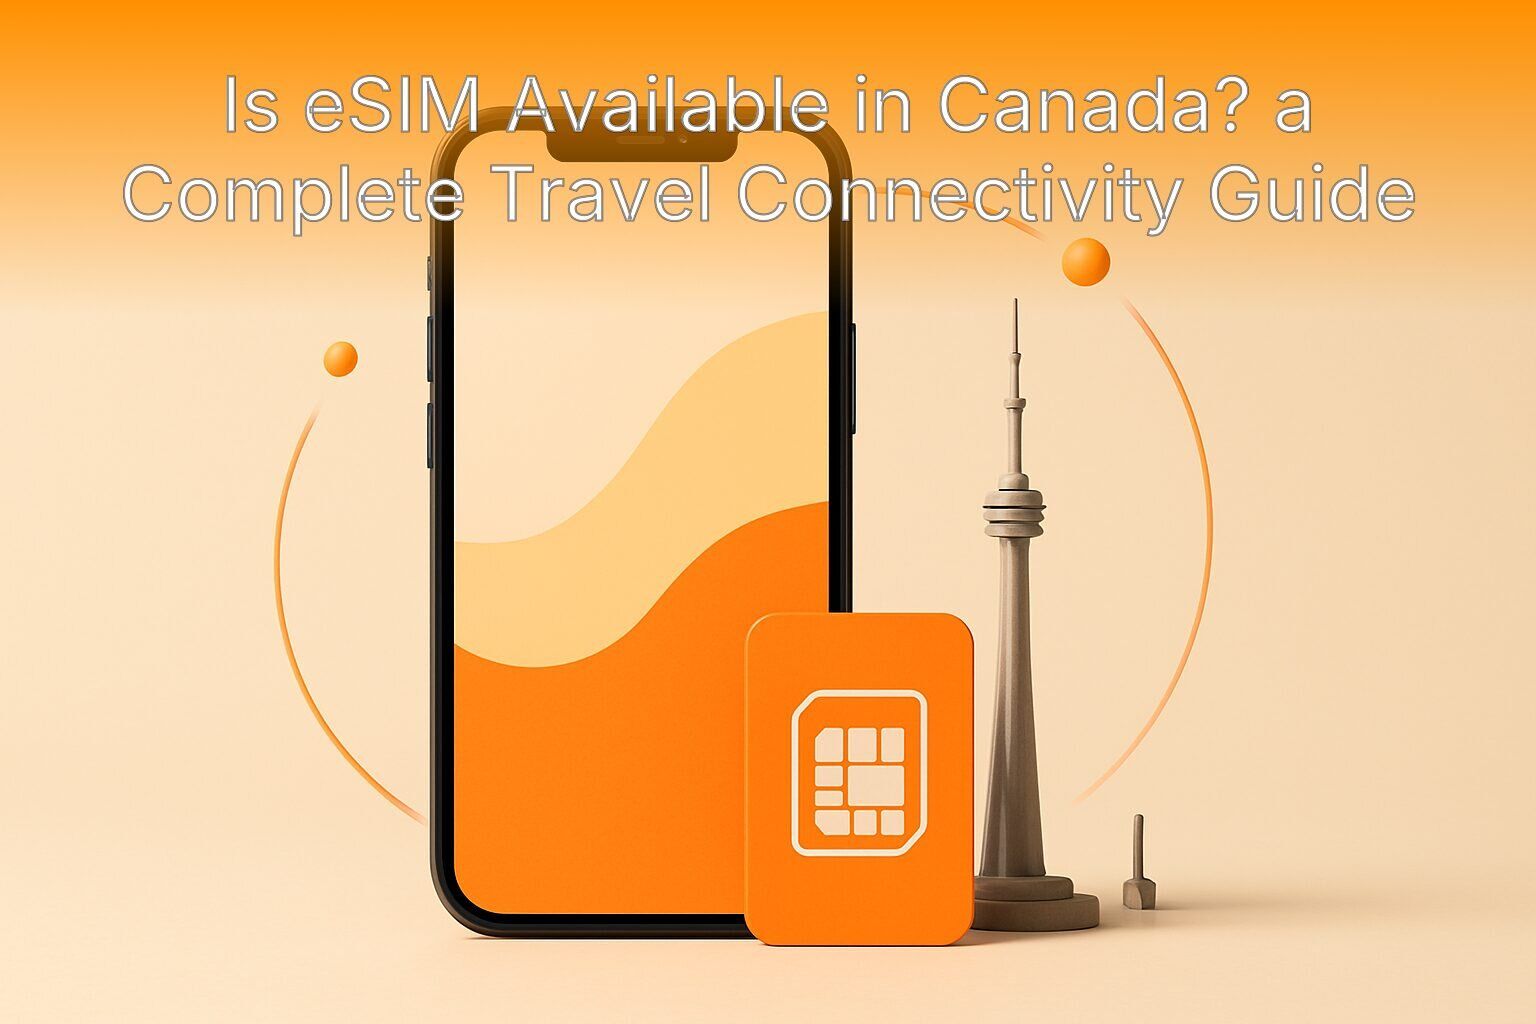
Is eSIM Available in Canada? A Complete Travel Connectivity Guide
Canada has fully embraced digital SIM technology. When asking is eSIM available in canada, the answer is a definitive yes. The nation boasts some of the most advanced mobile infrastructure in the world, and local carriers have integrated eSIM profiles into their standard operations. For travelers, this means you do not have to rely on patchy Wi-Fi or expensive international data plan add-ons from your home provider. You can simply download a digital profile and connect to local towers immediately.
Is eSIM Available in Canada? Your Connectivity Options
Yes, eSIM is fully available and widely supported across Canada. The country's three major network operators—Bell, Rogers, and Telus—offer robust eSIM infrastructure, meaning any unlocked, eSIM-compatible device can connect to high-speed 4G and 5G networks nationwide.
The underlying network quality in Canada is exceptional. According to independent network testing by Speedtest by Ookla, Canadian mobile networks consistently deliver fast median download speeds, heavily leveraging 5G infrastructure in urban centers. When you purchase a travel eSIM, it seamlessly connects to the infrastructure built by the major providers. Bell, Rogers, and Telus cover the vast majority of the populated regions. Even when traveling to slightly more remote areas or smaller towns, regional carriers piggyback on these main networks, ensuring your connection remains stable.
Using a digital SIM means your phone taps directly into this high-speed grid. You can use maps to navigate the sprawling streets of Toronto, stream music while driving through the Rocky Mountains, or video call home from a café in Montreal. The coverage is extensive, and the setup is entirely digital. For those wanting a reliable way to avoid roaming charges, leveraging Canadian eSIM infrastructure is the most effective method for modern travelers.
How Can You Choose Between a Physical SIM and an eSIM?
Choosing between a physical SIM and an eSIM comes down to convenience and flexibility. A physical SIM requires a store visit or waiting for delivery, while an eSIM is downloaded instantly via a QR code, allowing you to manage multiple profiles without swapping tiny cards.
Deciding on the right connectivity method is a crucial step in travel preparation. To make the right choice, you need to understand the eSIM vs physical SIM dynamics. A traditional physical SIM is the standard plastic chip you insert into your phone's tray. To get one in Canada, you typically have to visit a carrier store upon arrival, stand in line, present your passport, and physically swap out your home chip. This process eats into your vacation time and risks you losing your primary SIM card in the process. For official planning context, check Time Out travel guides.
An eSIM, or embedded SIM, is a small digital chip already built into your smartphone. It operates exactly like a physical card but is programmed remotely. You purchase your plan, receive a QR code, and scan it. Your phone instantly writes the new network credentials to the internal chip. There is no plastic to lose and no store to visit. For official planning context, check World Meteorological Organization climate guidance.
Here is a quick breakdown of how they compare for a Canadian trip:
| Feature | Physical SIM | eSIM |
|---|---|---|
| Acquisition | Must buy at airport or local store | Purchase and download from anywhere |
| Setup Time | 10 to 20 minutes of manual swapping | 2 minutes of scanning a QR code |
| Multi-Network Use | Requires carrying multiple cards | Store multiple profiles on one device |
| Environment | Creates plastic waste | 100% digital and eco-friendly |
The biggest advantage of the digital route is the ability to prep your phone before you leave your house. You can purchase a Canada eSIM plan days in advance, scan the code, and have the profile waiting on your phone. The moment your plane touches the tarmac, you simply toggle the new profile on. You walk off the plane fully connected, bypassing the lines at the airport telecom kiosks entirely.
Where Can You Buy or Activate Mobile Data Before Your Trip?
You can buy and activate mobile data before your trip directly through global eSIM providers like Yoho Mobile. This allows you to select your exact destination, data allowance, and trip duration online, receiving an activation QR code via email within minutes.
Securing mobile data before you travel is the smartest way to guarantee connectivity. Instead of relying on your home carrier's pricey international data plan, you can use a specialized travel eSIM provider. This is where finding the best eSIM canada option matters. Providers like Yoho Mobile offer an entirely flexible purchasing experience. You are not forced into rigid, pre-packaged bundles. You choose Canada as your destination, select the exact amount of gigabytes you need, and pick the precise number of days you will be traveling. This customization ensures you only pay for the data you actually use.
Competitors like Airalo and Holafly also offer Canadian options. Airalo provides solid regional packages, and Holafly is well-known for offering unlimited data. Unlimited plans sound incredibly appealing at first glance. But you have to look at the fine print. Unlimited plans often throttle your speeds after you hit a certain threshold, making high-bandwidth tasks like video streaming or downloading large files painfully slow. They also frequently block hotspot tethering, meaning you cannot share your connection with your laptop or travel companions.
This is where Yoho Mobile shines. With Yoho Mobile, you can select a high-data plan and still share your connection via tethering. When working remotely from a cabin in British Columbia or sharing data with family in Vancouver, having hotspot access is a non-negotiable feature. You can explore Yoho Mobile eSIM plans to see exactly how much data fits your itinerary.
The entire purchase flow happens digitally. You download the Yoho Mobile app on iOS or Android, select your parameters, and complete the transaction. The app generates a QR code instantly. You scan it with your phone's camera, and the eSIM profile is ready. For those new to this technology, you can even try a free eSIM trial to test the setup process before committing to a purchase. And should you ever run into an emergency while traveling, Yoho Care emergency data service is available to keep you online when it matters most.
What Setup Checklist Should You Complete Before You Go?
Before traveling to Canada, you must verify your phone's eSIM compatibility, purchase a suitable plan, download the digital profile via QR code, and ensure data roaming is enabled in your settings. Completing these steps guarantees instant network connection upon landing.
Setting up your travel connectivity takes only a few minutes, but doing it in the right order is critical. Many travelers make the mistake of trying to set up their digital SIM while standing at the baggage carousel, only to realize they need Wi-Fi to download the profile in the first place. Follow this sequence before you board your flight to ensure a seamless arrival in Canada.
-
Verify Device Compatibility
First, make sure your phone actually supports this technology. Most modern smartphones do, but it is always best to check. Apple has supported eSIM since the iPhone XS, XR, and iPhone 11 series, with the iPhone 14 and newer models being eSIM-exclusive in the United States. For Android users, flagship models from Samsung (Galaxy S20 and newer, Galaxy Z Flip/Fold series), Google Pixel (Pixel 4 and newer), and Motorola generally support eSIM. You can verify your specific device on a comprehensive eSIM device compatibility list. To understand the technical identifier embedded in your phone, learning what an EID number is can also help confirm your hardware capabilities.
-
Purchase and Download Your Profile
Once you confirm compatibility, purchase your plan. As mentioned, you can select the exact data and duration you need. After checkout, you will receive a QR code. Open your phone's camera app, point it at the QR code, and tap the notification to open your network settings. Follow the on-screen prompts to download and save the eSIM profile to your device. Label this profile something recognizable like "Canada Travel" so you can easily identify it later.
-
Configure Network Settings
After the profile downloads, it will appear in your mobile network list. Do not turn it on yet when still in your home country, unless the provider specifies it activates only upon arrival. Go into your phone's settings, find your mobile data options, and ensure that the "Data Roaming" toggle is switched on for your new profile. Understanding the nuances of data roaming on or off is essential; you need it turned on for the travel eSIM to function, but you should ensure it is turned off for your primary home SIM to prevent accidental roaming fees.
-
Test Your Connection
When your provider allows early activation, you can test the connection by turning on the profile while still at home. If it activates upon landing, simply toggle the profile on as soon as the airplane doors open. Your phone will search for a local Canadian network and connect automatically.

What Common Connectivity Mistakes Should You Avoid?
Common connectivity mistakes include leaving data roaming enabled on your home SIM, purchasing insufficient data allowances, failing to download the eSIM profile before departure, and assuming your device is unlocked and compatible. Avoiding these errors saves money and prevents frustrating gaps in service.
Even with the best technology, user error can quickly turn a seamless travel experience into a connectivity nightmare. We see the same handful of mistakes trip up international travelers time and time again. Knowing what to look out for is the best way to avoid roaming charges and stay online without interruption.
-
Ignoring Data Roaming Settings on Your Home SIM
The most expensive mistake you can make is allowing your primary home SIM to connect to a Canadian network. Even when you do not actively use your phone, background app refreshes, emails, and system updates can trigger pay-per-use roaming rates. These charges add up astonishingly fast. When you activate your travel eSIM, explicitly turn off data roaming for your primary physical SIM line. Route all mobile data strictly through your new travel profile.
-
Underestimating Data Needs
Travelers often underestimate how much mobile data they consume. Navigating unfamiliar cities with Google Maps, looking up restaurant reviews, translating languages, and uploading photos to social media requires a steady stream of data. For a one-week visit, 1GB is rarely enough. Consider how much data your favorite apps consume. For instance, knowing how much data Google Maps uses or how much data WhatsApp uses can help you calculate a realistic budget. A good rule of thumb is 500MB to 1GB per day for an average user, and more when you plan to stream video or work remotely.
-
Waiting Until Arrival to Set Up
While you can technically purchase and set up an eSIM after you land, you will need airport Wi-Fi to do so. Airport networks are often congested, slow, and unsecure. Completing the purchase and profile download before your flight ensures you walk off the plane with immediate access to a private, secure mobile network.
-
Assuming You Can Make Traditional Calls
Most travel eSIMs are data-only. This means you cannot dial a local or international number using the standard phone dialer. This rarely poses a problem for modern travelers, as you can easily use internet-based calling apps. To make calls, you can learn how to use an eSIM to make calls in a foreign country through apps like WhatsApp or FaceTime. For Apple users, knowing is FaceTime free internationally can save you a lot of worry, as it works flawlessly over a data connection.
By dodging these common pitfalls, you ensure your trip is defined by smooth navigation and constant connectivity, rather than unexpected bills and offline frustration. The flexibility of a digital SIM is only as good as the user operating it, so taking a few minutes to configure your settings properly pays off immensely.
Frequently Asked Questions
Is eSIM available in Canada for tourists?
Yes, eSIM is fully available in Canada for tourists. Travelers can purchase a travel eSIM from providers like Yoho Mobile before departure or upon arrival, provided their smartphone supports eSIM technology. This allows instant access to local mobile data networks across all major Canadian carriers.
Which Canadian mobile networks support eSIM?
The three major Canadian mobile networks—Bell, Rogers, and Telus—fully support eSIM technology. Smaller regional carriers and flanker brands like Virgin Plus, Koodo, and Fido also offer eSIM compatibility for both local residents and visitors.
How much mobile data do I need for a trip to Canada?
For a standard one-week trip to Canada, 5GB to 10GB of mobile data is usually sufficient for most travelers. This covers daily navigation, social media browsing, and staying connected. When you plan to stream high-definition video or use your phone as a mobile hotspot, consider a larger data allowance.
Can I use an eSIM to make phone calls in Canada?
Most travel eSIMs provide data-only connectivity, meaning traditional cellular calls are not supported. You can easily make calls using internet-based applications like WhatsApp, FaceTime, or Skype over your eSIM data connection.
Do I need to unlock my phone to use a travel eSIM in Canada?
No, your phone does not need to be unlocked from your primary carrier to use a travel eSIM. Because eSIM operates independently of your physical SIM slot, you can keep your home SIM active while adding a secondary eSIM profile for Canadian data.
Will my eSIM automatically connect to a network when I land in Canada?
Most travel eSIMs activate automatically upon connecting to a supported local network in your destination country. You must ensure data roaming is turned on in your phone settings for the eSIM profile to successfully connect to Canadian networks.